
Deploy Angular Apps with DeployHQ
DeployHQ makes it simple to automate deployments for your Angular applications, handling everything from pulling your latest code to running build commands and syncing files to your server. Whether you're deploying a static Angular app to a web server or a server-side rendered application, DeployHQ removes the manual steps so your team can ship with confidence.
This guide walks through setting up a complete Angular deployment pipeline with DeployHQ, from connecting your repository to running your first automated build and deploy.
Deploying with DeployHQ
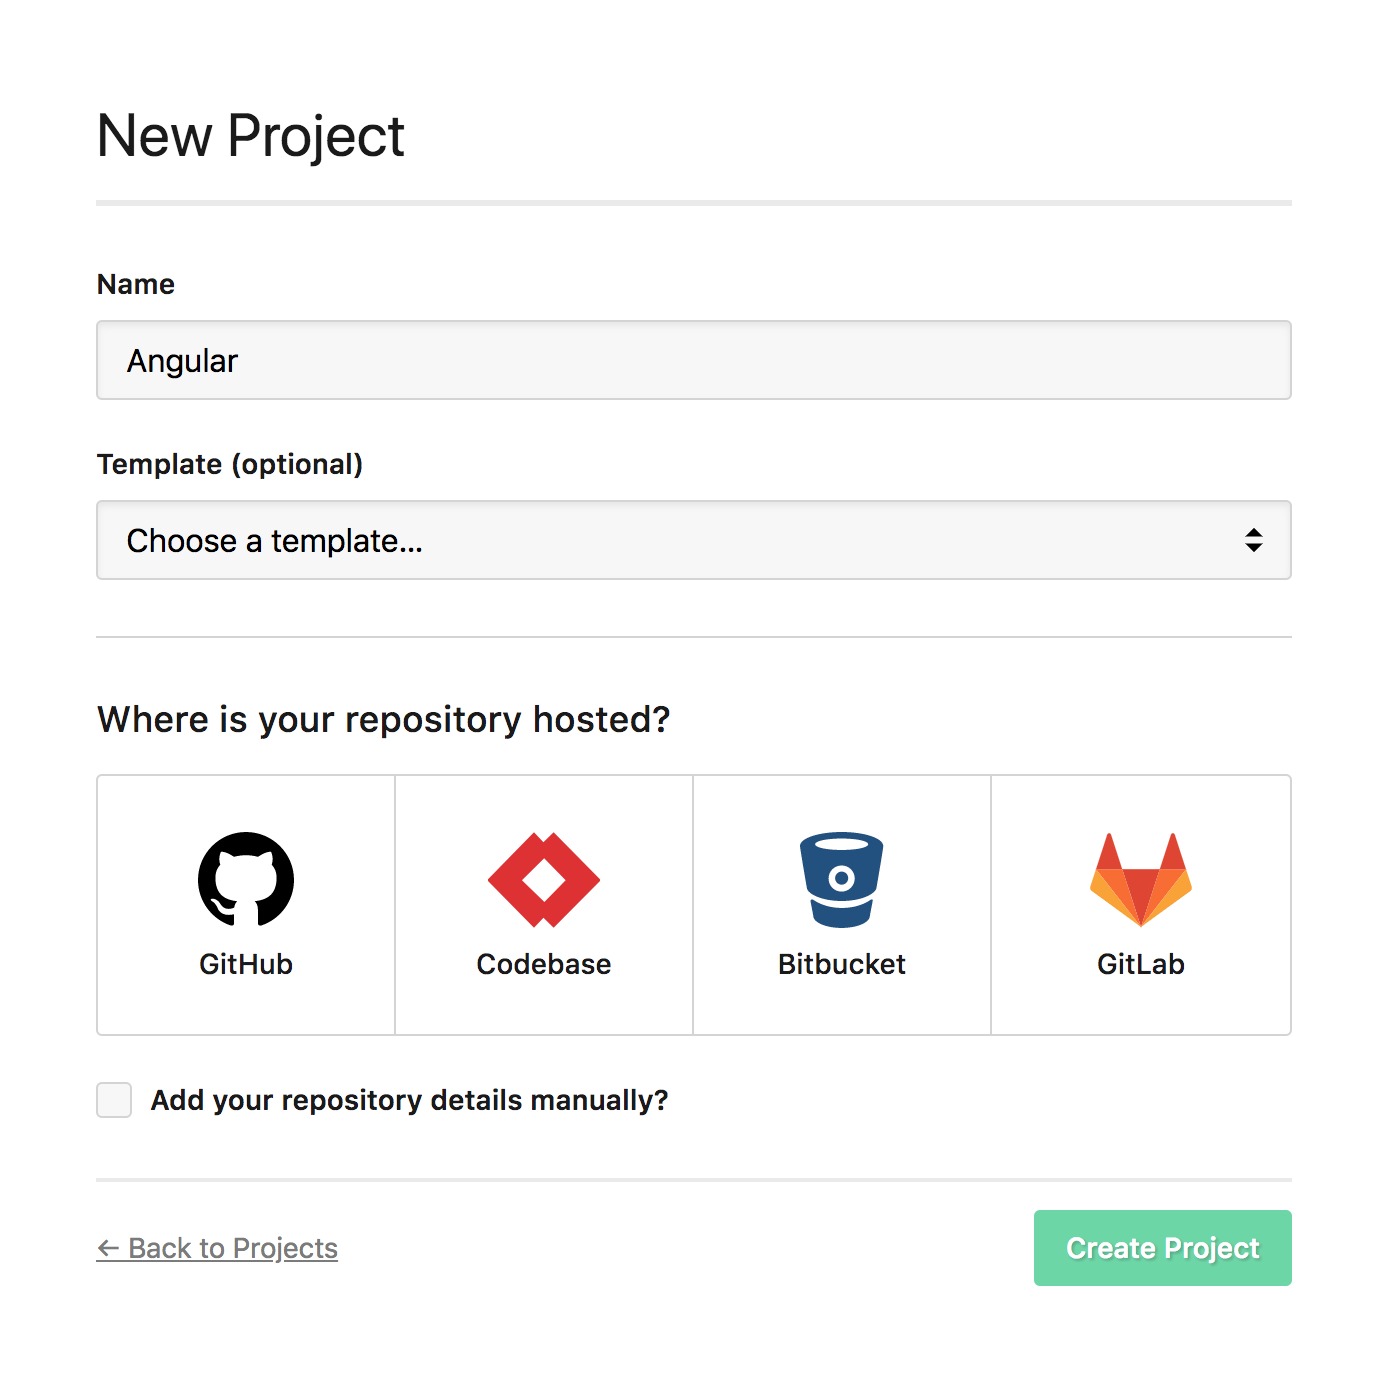
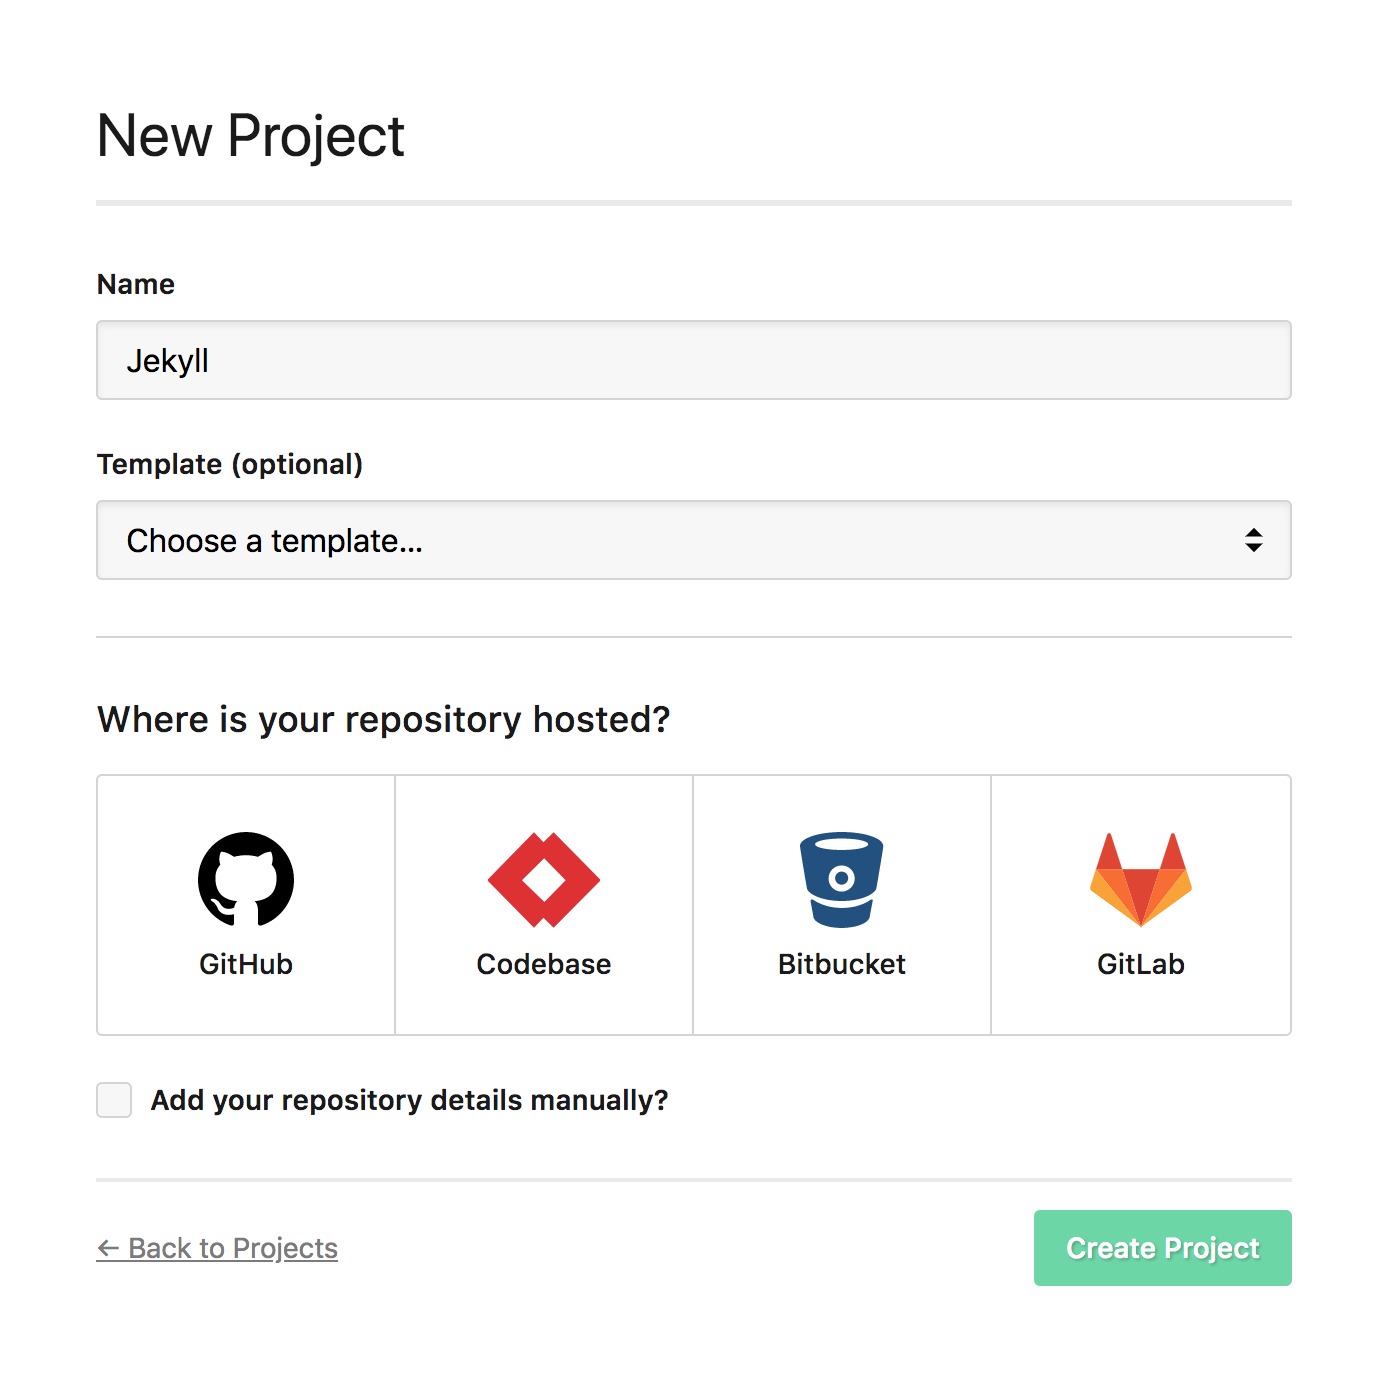
Create a project
Start by creating a new project in DeployHQ and connecting it to your Angular repository. DeployHQ supports GitHub, GitLab, Bitbucket, and self-hosted Git servers.
If you need help connecting your repository, see (Article: #7).
For more details on project creation, visit our support page.
Create a deployment user
For SSH deployments, it's good practice to create a dedicated system user on your server for DeployHQ rather than deploying as root or your personal account. This limits the blast radius if credentials are ever compromised and makes it easy to audit what DeployHQ has access to.
On your server, create a user such as deployhq:
sudo adduser deployhq
Grant this user write access to your deployment directory (for example, /var/www/myapp):
sudo chown -R deployhq:deployhq /var/www/myapp
You'll then paste DeployHQ's public key into this user's ~/.ssh/authorized_keys file when configuring the server in the next step.
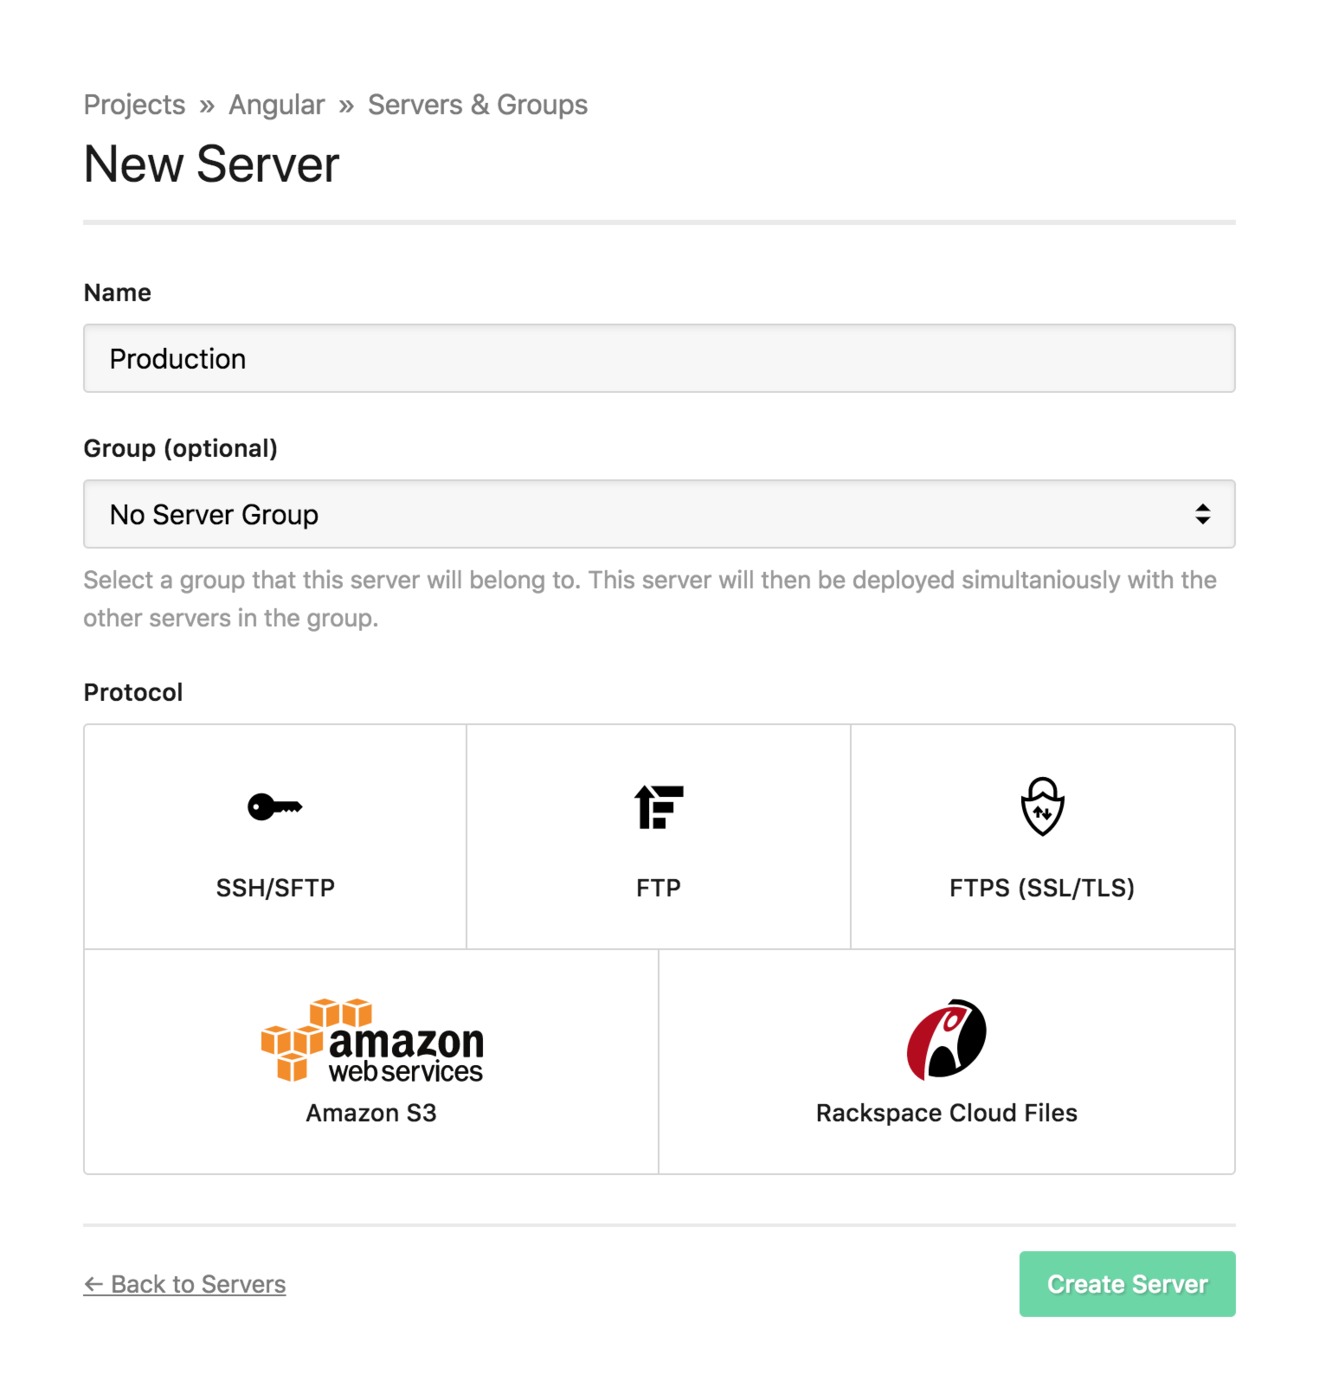
Configure a server
Add a new server to your project. DeployHQ supports several deployment protocols:
- SSH/SFTP (Article: #29) — recommended for most setups
- FTP (Article: #31)
- FTPS (Article: #33)
- Amazon S3 (Article: #35)
- Rackspace Cloud Files (Article: #37)
For Angular apps deploying compiled static assets, SSH with key-based authentication is the recommended approach.
Deployment path: Set this to the directory where your Angular app should be served from, such as /var/www/myapp. For zero-downtime deployments, see (Article: #297).
If you run into connection issues, (Article: #27) covers common SSH troubleshooting steps.
Build pipeline
DeployHQ's build pipeline runs commands in an isolated environment before deploying your files. This is where you install dependencies and compile your Angular application.
Navigate to Build Pipeline in your project settings.
Node version: Angular 17+ requires Node 18.13 or later. Set your Node version to match what you're using locally. You can pin a specific version using the Node version selector in the build environment settings.
Install dependencies:
npm ci
Using npm ci instead of npm install ensures a clean, reproducible install based on your package-lock.json.
Build your application:
npm run build
Angular projects created with ng new include a build script in package.json that runs ng build. Since Angular 12+, production mode is the default — you do not need to pass --prod or --configuration production explicitly.
Your compiled output will appear in dist/<project-name>/browser.
Caching
Enable caching to significantly speed up subsequent builds. Add the following paths to your build cache:
node_modules/**— avoids re-downloading packages on every build.angular/**— Angular's incremental build cache, which can dramatically reduce compile times on large projects
Deployment subdirectory
Angular 17+ outputs compiled files to dist/<project-name>/browser. Set your deployment subdirectory to match your project's output path so only the built assets are uploaded, not your source code or node_modules.
For example, if your Angular project is named my-app, set the deployment subdirectory to dist/my-app/browser.
Config files
If your Angular app requires environment-specific configuration at runtime (such as API base URLs or feature flags that differ between staging and production), use DeployHQ's config files feature to inject these values during deployment.
Angular's environment.ts files are compiled into the bundle at build time, which works well for values that don't change between deployments. For values that need to vary per environment without rebuilding, you can place a JSON config file (for example, assets/config.json) in your repository and use DeployHQ's config files to write the correct values for each server during deployment.
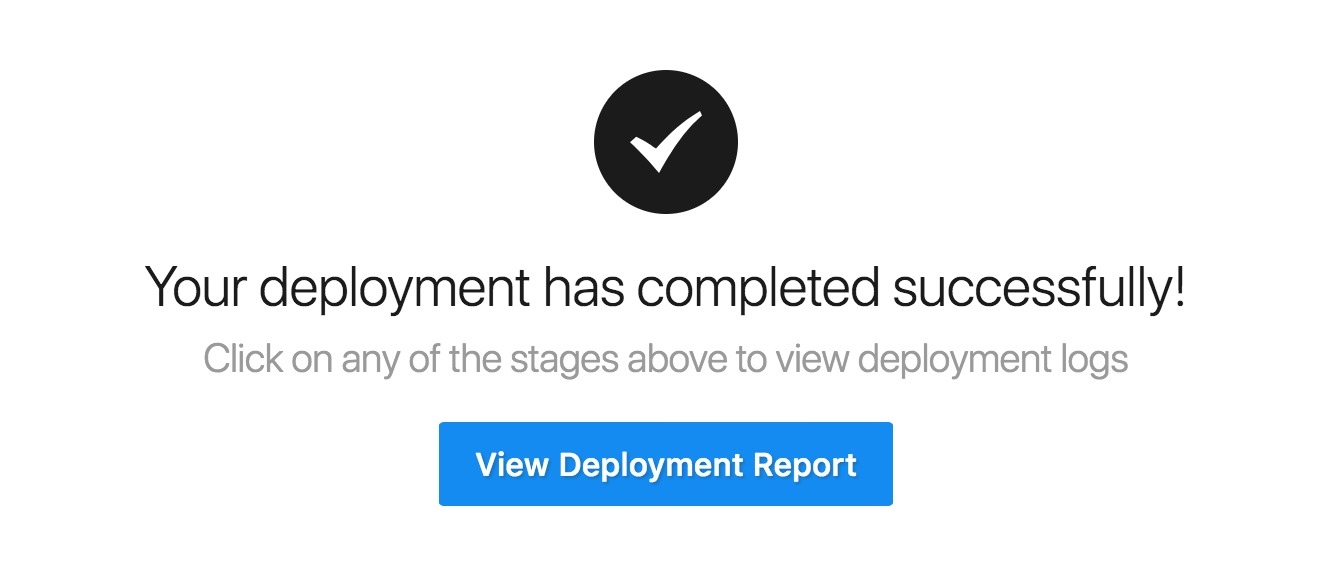
Deploy
With your build pipeline and server configured, you're ready to deploy. Trigger your first deployment manually from the DeployHQ dashboard to verify everything is working. DeployHQ will clone your repository, run your build commands, upload the compiled output from dist/<project-name>/browser, and run any post-deployment SSH commands.
Once your first deployment succeeds, enable automatic deployments so DeployHQ triggers a build and deploy on every push to your chosen branch.
A note on Angular SSR
If your Angular application uses server-side rendering (SSR, set up with ng add @angular/ssr), the deployment process differs from a static app. The SSR build produces both a browser bundle and a Node.js server bundle, and you'll need a Node.js process manager (such as PM2) running on your server to serve requests.
The output directory structure also changes — typically dist/<project-name>/server for the Node bundle alongside dist/<project-name>/browser. In this case, your deployment subdirectory should point to the full dist/<project-name> directory rather than just browser, and your SSH commands would restart your Node.js process after each deployment.
For more guides on deploying with DeployHQ, visit our guides library.