
Deploy Hexo with DeployHQ: A Step-by-Step Guide
DeployHQ is an automated deployment tool that connects your Git repository to your web server, running your build process and transferring only the files that have changed. For Hexo sites, this means your static files are generated in the cloud and deployed directly to your server — no manual hexo generate runs or FTP uploads required.
This guide walks through setting up a complete Hexo deployment pipeline with DeployHQ, from project creation through your first successful deploy.
Deploying with DeployHQ
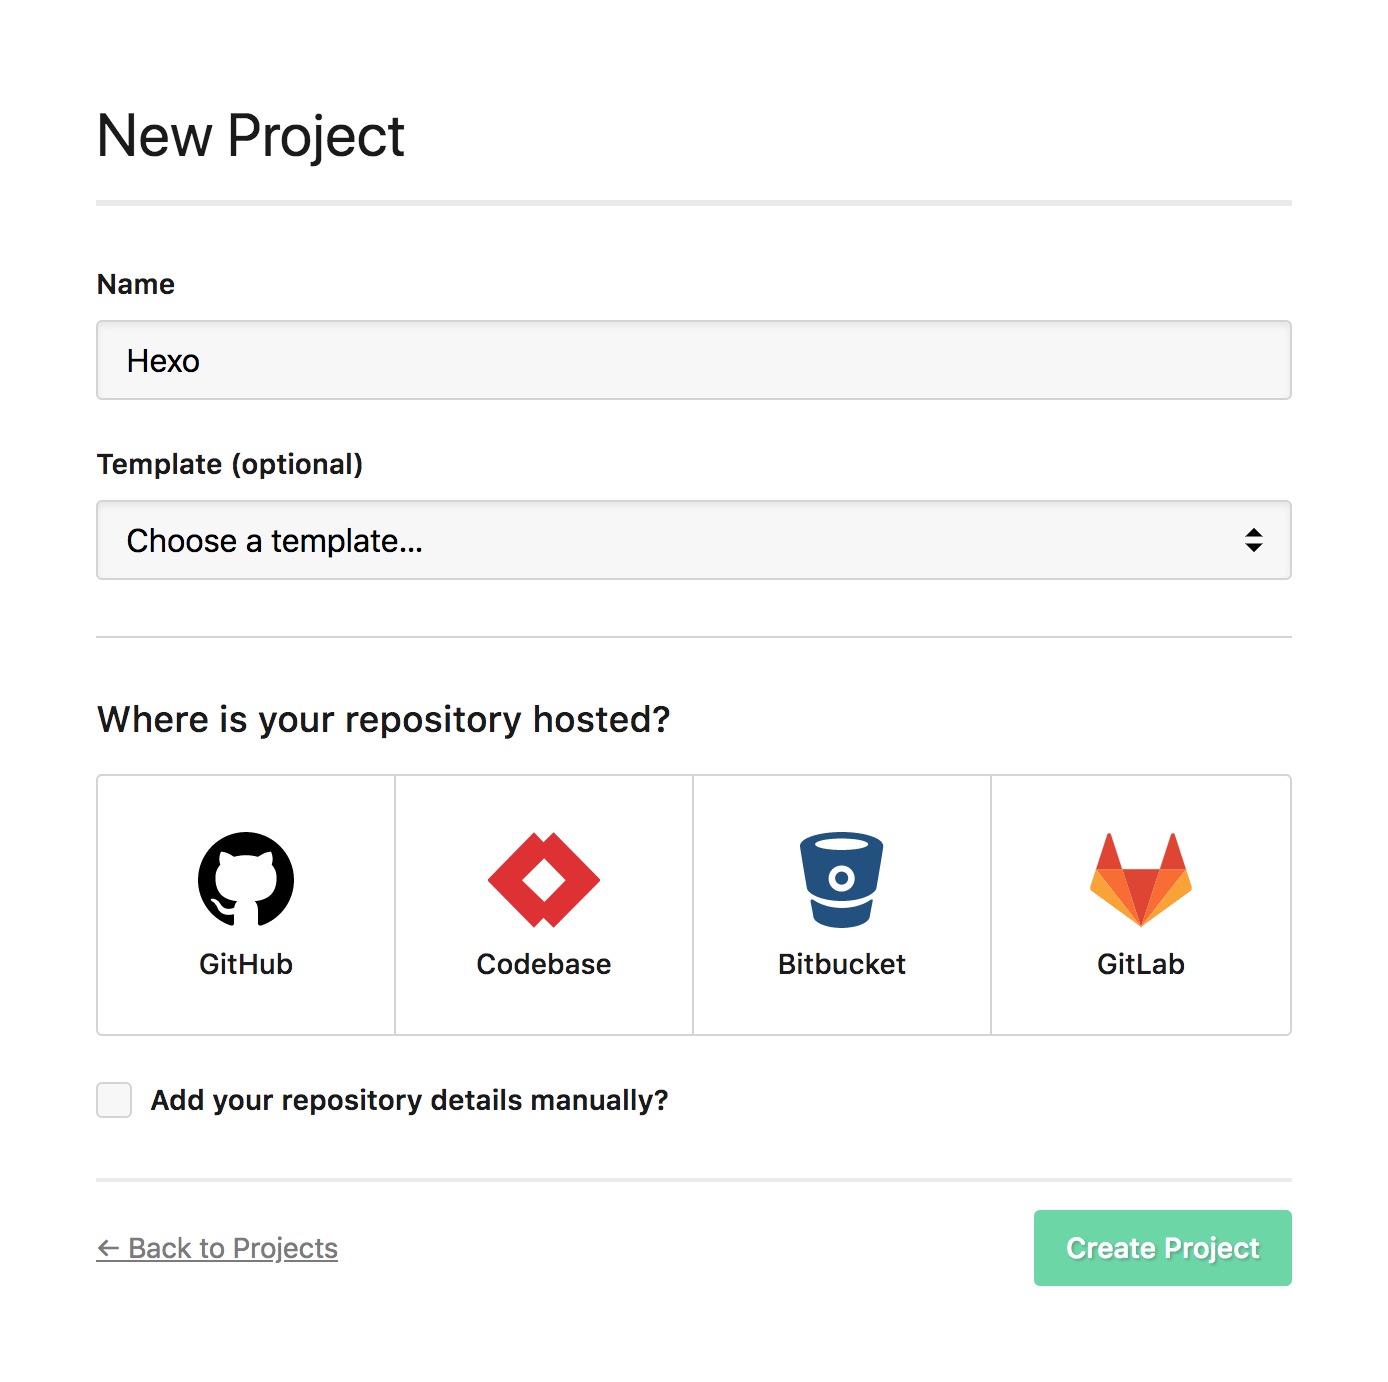
Create a project
If you haven't already, create a new project in DeployHQ and connect it to the repository containing your Hexo site. DeployHQ supports GitHub, GitLab, Bitbucket, and self-hosted Git providers.
For detailed instructions on connecting your repository, see our guide on creating a project. If you're having any difficulty, see (Article: #7).
Configure a server
Once your project is created, add a deployment server. This is the server where your generated Hexo files will be deployed after each build.
DeployHQ supports several connection protocols. Choose the one that matches your hosting environment:
- FTP (Article: #31)
- FTPS (Article: #33)
- SSH/SFTP (Article: #29)
- Amazon S3 (Article: #35)
- Rackspace Cloud Files (Article: #37)
If you run into connection issues when setting up your server, (Article: #27) covers the most common causes and fixes.
Build pipeline
Hexo is a Node.js-powered static site generator. DeployHQ's build pipeline lets you run npm install and generate your static files in an isolated cloud environment before deploying.
Navigate to Build Pipeline in your project settings and add the following commands:
npm install
npm run build
These two commands install your dependencies and then run the build script defined in your package.json. Make sure your package.json includes a build script that calls hexo generate:
{
  "scripts": {
    "build": "hexo generate"
  }
}
The hexo generate command (also available as hexo g) compiles your posts, pages, and theme into static HTML, CSS, and JavaScript. Do not use hexo deploy here — that is Hexo's own built-in deployment mechanism and is not compatible with DeployHQ's pipeline.
Node.js version
Hexo requires Node.js 14 or later. For the best compatibility with modern themes and plugins, we recommend setting your build environment to Node 18 or above. You can configure the Node version in your project's build settings.
Dealing with stale output
If you notice outdated files appearing in your generated output — for example, deleted posts still showing up — add a clean step before your build commands:
npx hexo clean
npm install
npm run build
The hexo clean command removes the public directory and the cache file (db.json) before regenerating, ensuring your output is always a fresh build.
Build caching
Hexo projects can have a large number of npm dependencies. Caching the node_modules directory between builds significantly reduces build times by avoiding a full reinstall on every deploy.
In your project's build settings, add the following cache path:
node_modules/**
With caching enabled, DeployHQ will restore your node_modules directory at the start of each build and only install packages that have changed.
Deployment subdirectory
Hexo outputs all generated files to the public directory by default. You should configure DeployHQ to deploy only the contents of this directory, rather than your entire repository (which includes source files, configuration, and theme files that your web server does not need).
In your server configuration, set the Deployment Subdirectory to:
public
This ensures only the compiled static site is transferred to your server on each deploy.
If you have customised the output path in your _config.yml using the public_dir setting, update the deployment subdirectory to match.
Deploy
With your build pipeline and server configured, you're ready to deploy. Push a commit to your connected branch, or trigger a manual deployment from the DeployHQ dashboard.
DeployHQ will:
- Check out your repository at the latest commit
- Restore cached
node_modules(if available) - Run
npm installto install or update dependencies - Run
npm run buildto generate your static site withhexo generate - Transfer the contents of the
publicdirectory to your server - Report the result of the deployment
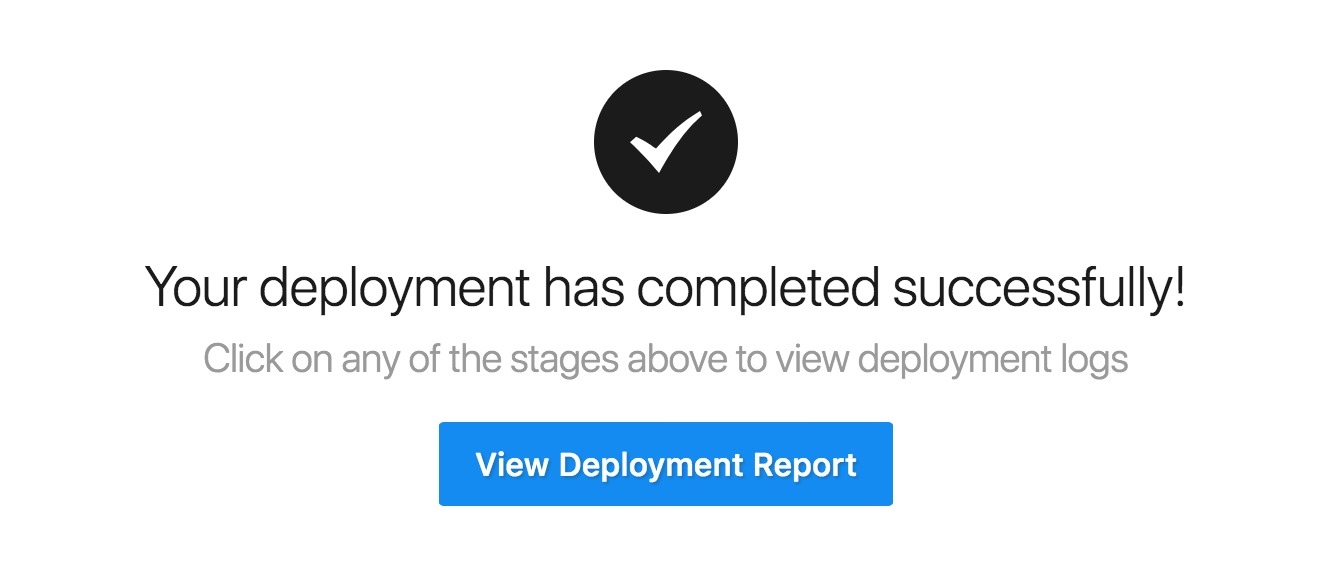
After your first successful deployment, subsequent deploys will only transfer files that have changed since the last deploy — keeping things fast even for large Hexo sites with many posts and assets.
For more guides on deploying different frameworks and platforms with DeployHQ, visit our guides library.