
Deploy Perch with DeployHQ
Perch CMS is a lightweight PHP content management system that runs directly on your web server — there's no build process or compilation step involved. Deploying Perch sites manually means uploading files via FTP, managing configuration files carefully across environments, and risking accidental overwrites of user-uploaded assets. DeployHQ automates this process, giving you reliable, repeatable deployments straight from your Git repository.
Note: Perch CMS is no longer under active development, but many production sites continue to run on it. This guide covers setting up a dependable deployment workflow for existing Perch projects.
Deploying with DeployHQ
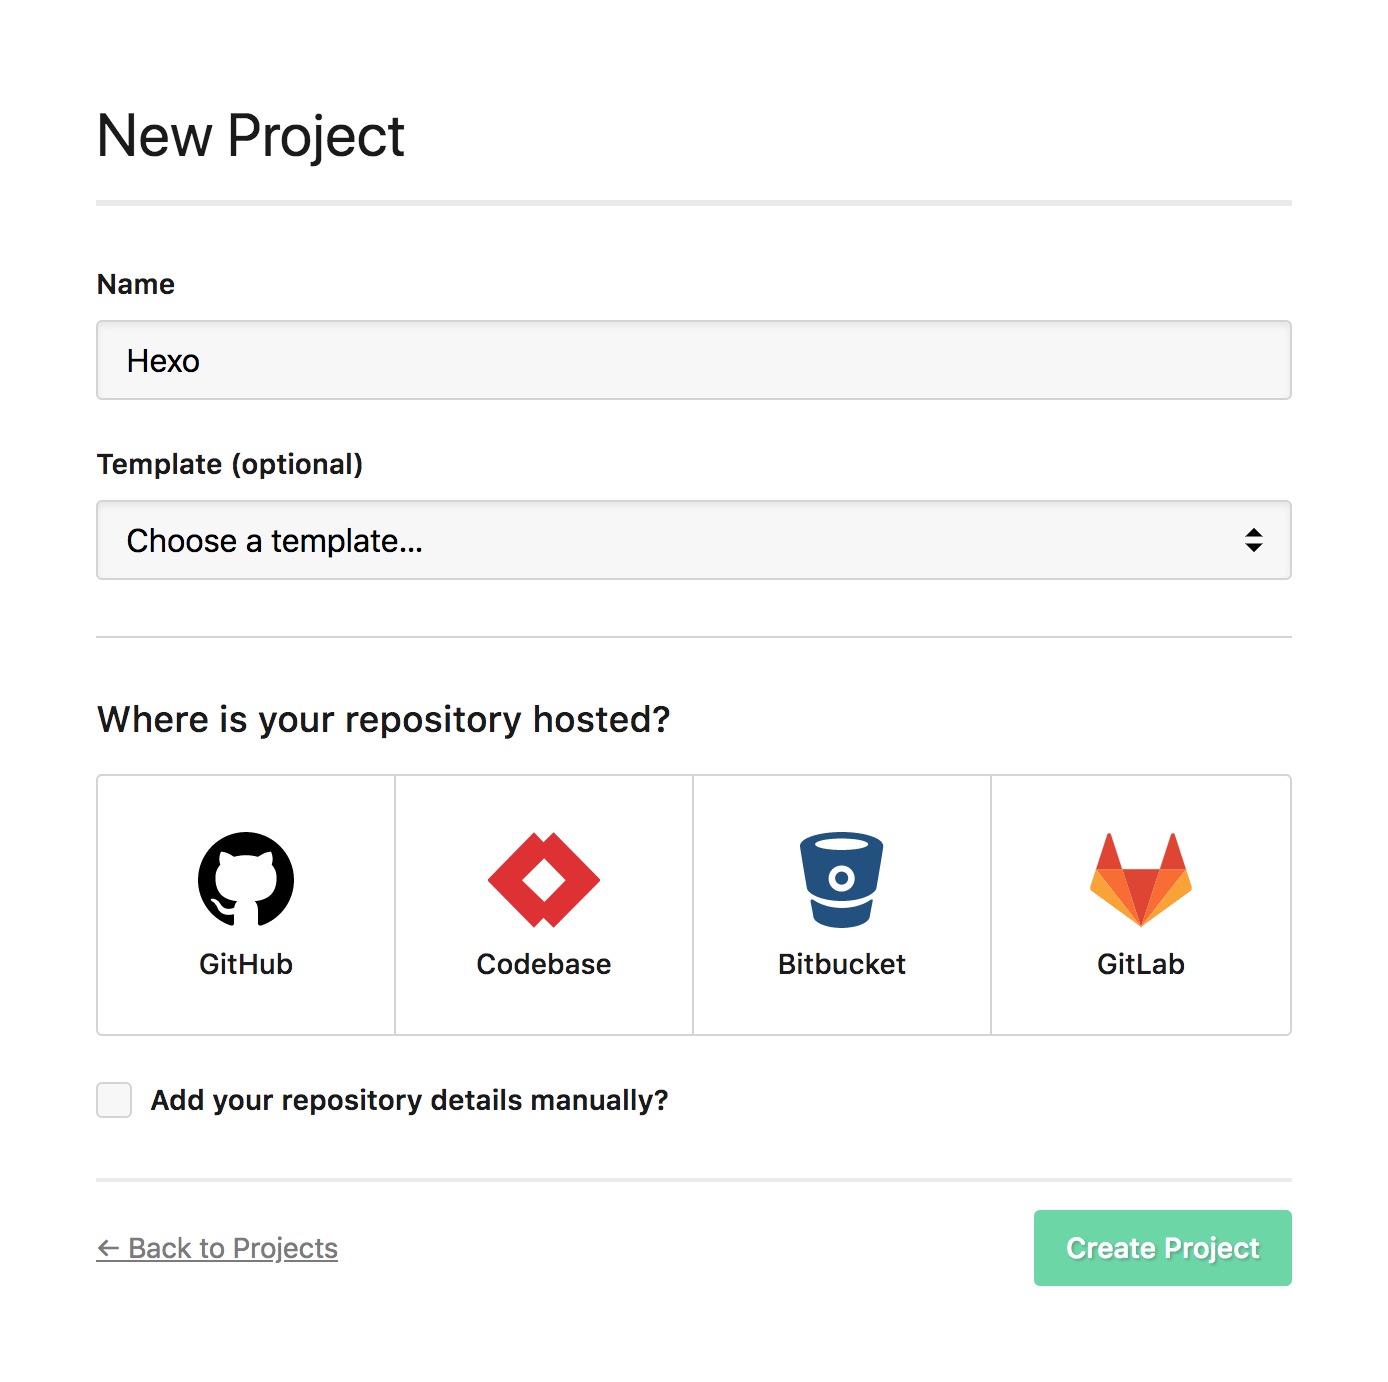
Create a project
Start by creating a new project in DeployHQ and connecting your Git repository. DeployHQ supports GitHub, GitLab, Bitbucket, and self-hosted Git providers — choose whichever hosts your Perch project.
If you need help connecting your repository, see (Article: #7).
Create a deployment user
On your server, create a dedicated user account for DeployHQ deployments. Using a dedicated user keeps deployment activity isolated from other server processes and makes it easier to audit and revoke access if needed.
sudo adduser deployhq
Grant this user appropriate permissions to write to your web root:
sudo chown -R deployhq:www-data /var/www/your-site
sudo chmod -R 775 /var/www/your-site
Perch writes uploaded files to perch/resources/. Your web server process (typically www-data on Ubuntu/Debian) needs write access to this directory. The shared group ownership above handles this, but confirm it works for your server setup.
Configure a server
In your DeployHQ project, navigate to Servers and add a new server. For most Perch deployments, SSH/SFTP is the recommended protocol — it's secure and supports post-deployment commands.
Fill in your server details:
- Name — a descriptive label (e.g. "Production")
- Hostname — your server's IP address or domain
- Username — the
deployhquser you created - Port — 22 (default SSH)
- Deployment path — the full path to your web root, e.g.
/var/www/your-site
For authentication, select SSH key and copy the public key shown in DeployHQ into /home/deployhq/.ssh/authorized_keys on your server.
For help with other connection types, see (Article: #31) for FTP, (Article: #33) for FTPS, (Article: #35) for Amazon S3, or (Article: #37) for Rackspace. If you run into connection problems, (Article: #27) covers common troubleshooting steps.
Config files
Perch stores its database credentials and site configuration in perch/config/config.php. This file should not be committed to your repository — it contains sensitive credentials that differ between environments.
Instead, add perch/config/config.php to your .gitignore and use DeployHQ's config files feature to deploy it automatically during each deployment.
In your project, go to Config Files and create a new config file with the path perch/config/config.php. Paste in your environment-specific configuration:
<?php
define('PERCH_DB_USERNAME', 'your_db_user');
define('PERCH_DB_PASSWORD', 'your_db_password');
define('PERCH_DB_SERVER', 'localhost');
define('PERCH_DB_DATABASE', 'your_db_name');
define('PERCH_DB_PREFIX', 'perch2_');

define('PERCH_LICENSE_KEY', 'your-license-key');
define('PERCH_TZ', 'Europe/London');
define('PERCH_RUNWAY', false);
DeployHQ will write this file to your server on every deployment, keeping your credentials out of version control and making it straightforward to maintain different configurations for staging and production environments.
Excluded files
Perch stores user-uploaded content — images, documents, and other media — in perch/resources/. This directory lives on the server and should not be managed by your repository or overwritten during deployments.
In your project settings, navigate to Excluded Files and add:
perch/resources/**
This tells DeployHQ to leave the resources directory untouched when deploying, preserving any files your editors have uploaded through the Perch control panel.
Build pipeline
If your project uses Composer:
Perch itself does not require Composer, but your project may use it for additional dependencies. If you have a composer.json at the root of your project, add a build command in DeployHQ under Build Pipeline:
composer install --no-dev --optimize-autoloader
Add vendor/** to your Cached Files to speed up subsequent deployments — DeployHQ will reuse the vendor directory between builds when your composer.lock has not changed.
If your project does not use Composer:
You may not need any build commands at all. Perch is a PHP application that runs directly on the server — DeployHQ will simply upload your files. Leave the build pipeline empty and move on.
SSH commands
Post-deployment commands run on your server after files have been uploaded. For most Perch deployments, these are minimal, but there are a few things worth automating.
In your server configuration, add any relevant commands under SSH Commands:
# Set correct ownership on uploaded files directory
chown -R www-data:www-data /var/www/your-site/perch/resources
If your hosting environment uses PHP-FPM, you may also want to reload it to ensure any opcode cache is refreshed:
sudo systemctl reload php8.1-fpm
Adjust the PHP version in that command to match what your server runs.
For zero-downtime deployments, see (Article: #297).
Deploy
With your server configured, config files in place, and excluded paths set, you're ready to deploy. In your DeployHQ project, click Deploy to trigger your first deployment.
DeployHQ will:
- Clone your repository at the selected branch or tag
- Run any build commands (Composer install, if configured)
- Upload changed files to your server
- Write your
perch/config/config.phpfrom the config files setting - Skip the
perch/resources/directory entirely - Run any SSH commands you've configured
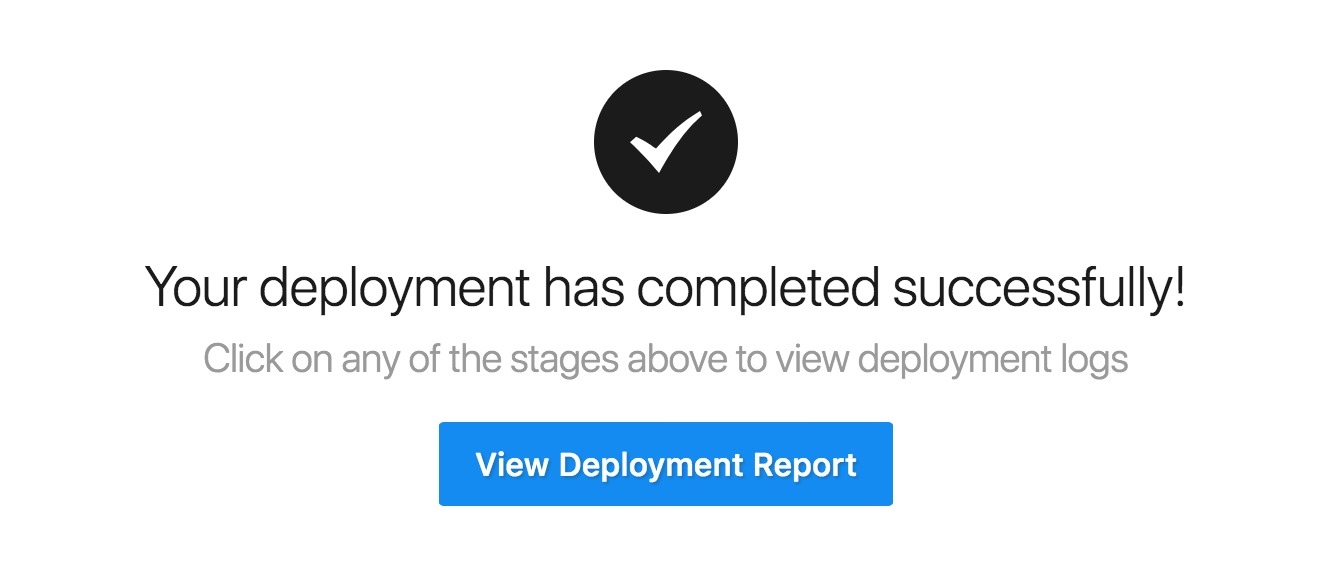
On subsequent deployments, DeployHQ tracks which files have changed and uploads only those — keeping deployments fast even for larger Perch projects.
Once you've confirmed your first deployment is working correctly, set up automatic deployments by configuring a webhook in your repository provider. DeployHQ will then deploy automatically whenever you push to your chosen branch, removing the need to trigger deployments manually.
For more deployment guides covering other platforms and frameworks, visit our guides library.