Configuring a DigitalOcean droplet
The DigitalOcean droplet integration uses your DigitalOcean API token to access your DigitalOcean account resources (your droplets in this case), and allow you to select them directly from a drop-down in your server configuration.
This allows you to quickly set up your droplets in DeployHQ without the hassle of looking up your droplet name, IP, or username.
The only step required is to create a droplet (if you don’t have an existing one), create a DigitalOcean API token, and to upload your SSH key to the droplet’s .ssh/authorized_keys file, so that DeployHQ can authenticate its connection with the droplet. Let’s go over these step by step.
Pre-requisites
To work this integration, there are some steps that you’ll need to follow to get your setup running. Those are:
- A running droplet on DigitalOcean
- A DigitalOcean API token
Let’s go over these steps one by one!
Create a droplet
To be able to connect DeployHQ to a DigitalOcean droplet, you first need the droplet to exist! So let’s create one. If you already have a running droplet in your environment, feel free to skip this step completely.
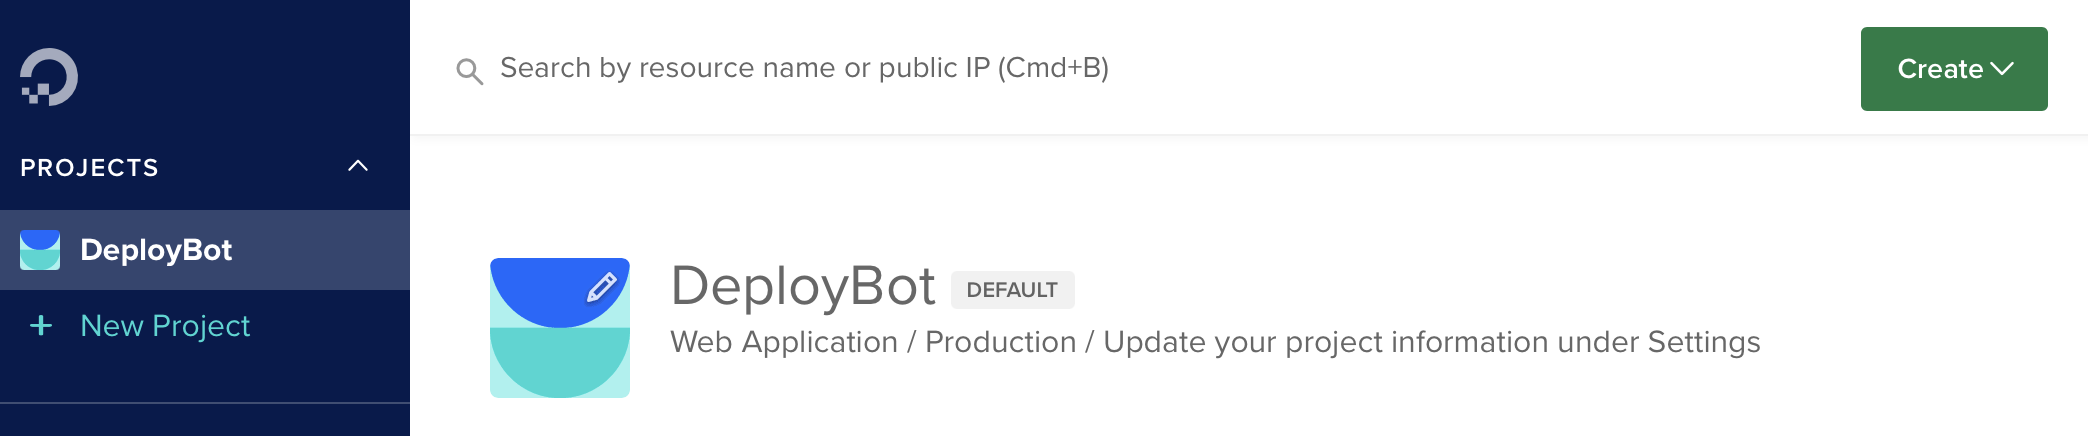
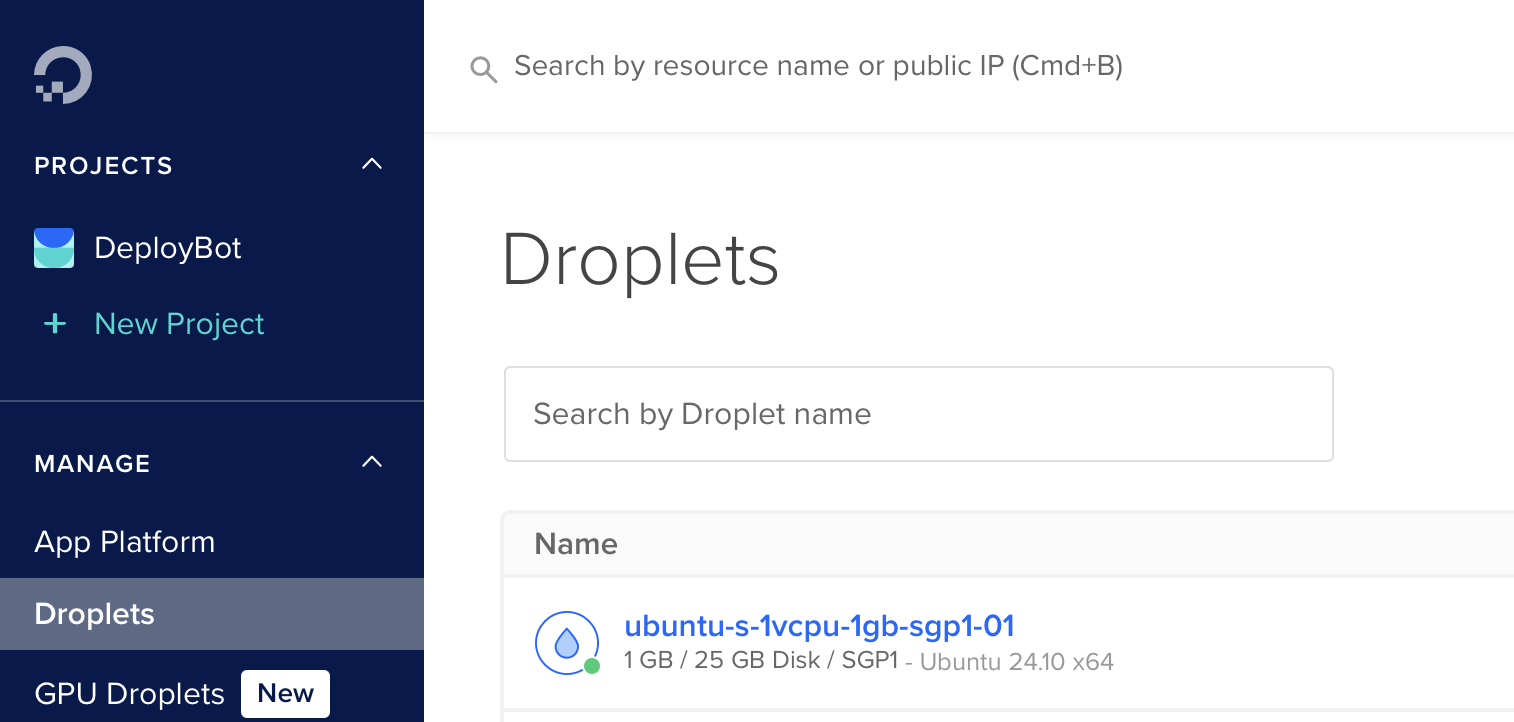
First, log in to DigitalOcean, and go into “Droplets” to create your droplet. You can alternatively click on the "Create" button, and select "Droplets" from there.
Once in the droplet configuration page, you’re free to select the options that you deem best for your droplet, such as the most appropriate image for your server, your plan, region, etc. You’re also free to select either password or SSH key as your initial connection authentication method, as we’ll not be using this method through DeployHQ’s integration, and adding our own SSH key manually.
Once this is done, go back to your DeployHQ server configuration page, select any additional server settings, such as atomic deployments or your server's environment, and finally, click "Create server".
Congrats! You now have your very own droplet to work with.
Create a DigitalOcean API token
Once the droplet is present in your DigitalOcean account, you can then go in the following page: https://cloud.digitalocean.com/account/api/tokens
Here, you’ll be creating a token with which you can authorize our DeployHQ account to access our DigitalOcean resources.
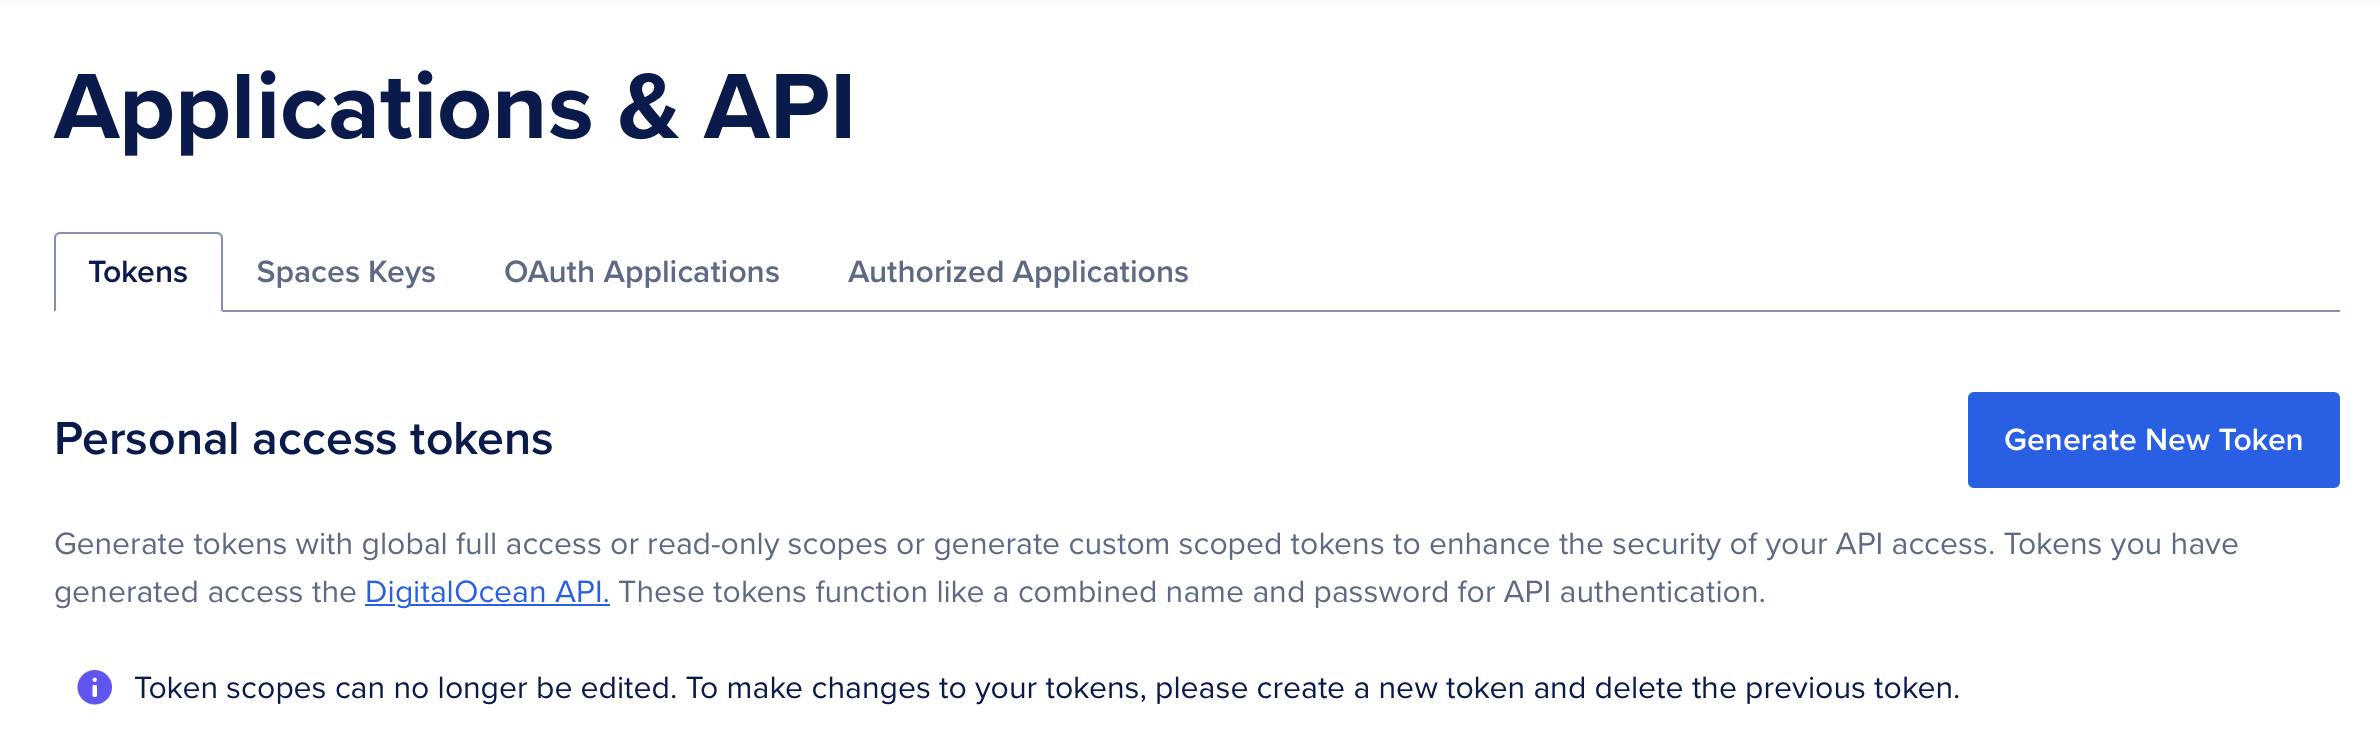
To do so, just click on “Generate new token”, and follow the steps outlined in this new page. You can give the token a name with which to reference it. I recommend a name that will be self-explanatory, as it will help you recognise the token’s objective after some time has passed.
You can also give the token the expiration time most appropriate for you, however, keep in mind that if the token expires, you’ll need to renew it in both DigitalOcean AND DeployHQ to keep the integration running.
For the token's scopes, you have several options:
- Full Access: Grants all available scopes based on your team role (simplest option)
- Read Only: Grants read-only access to all resources (not sufficient for DeployHQ)
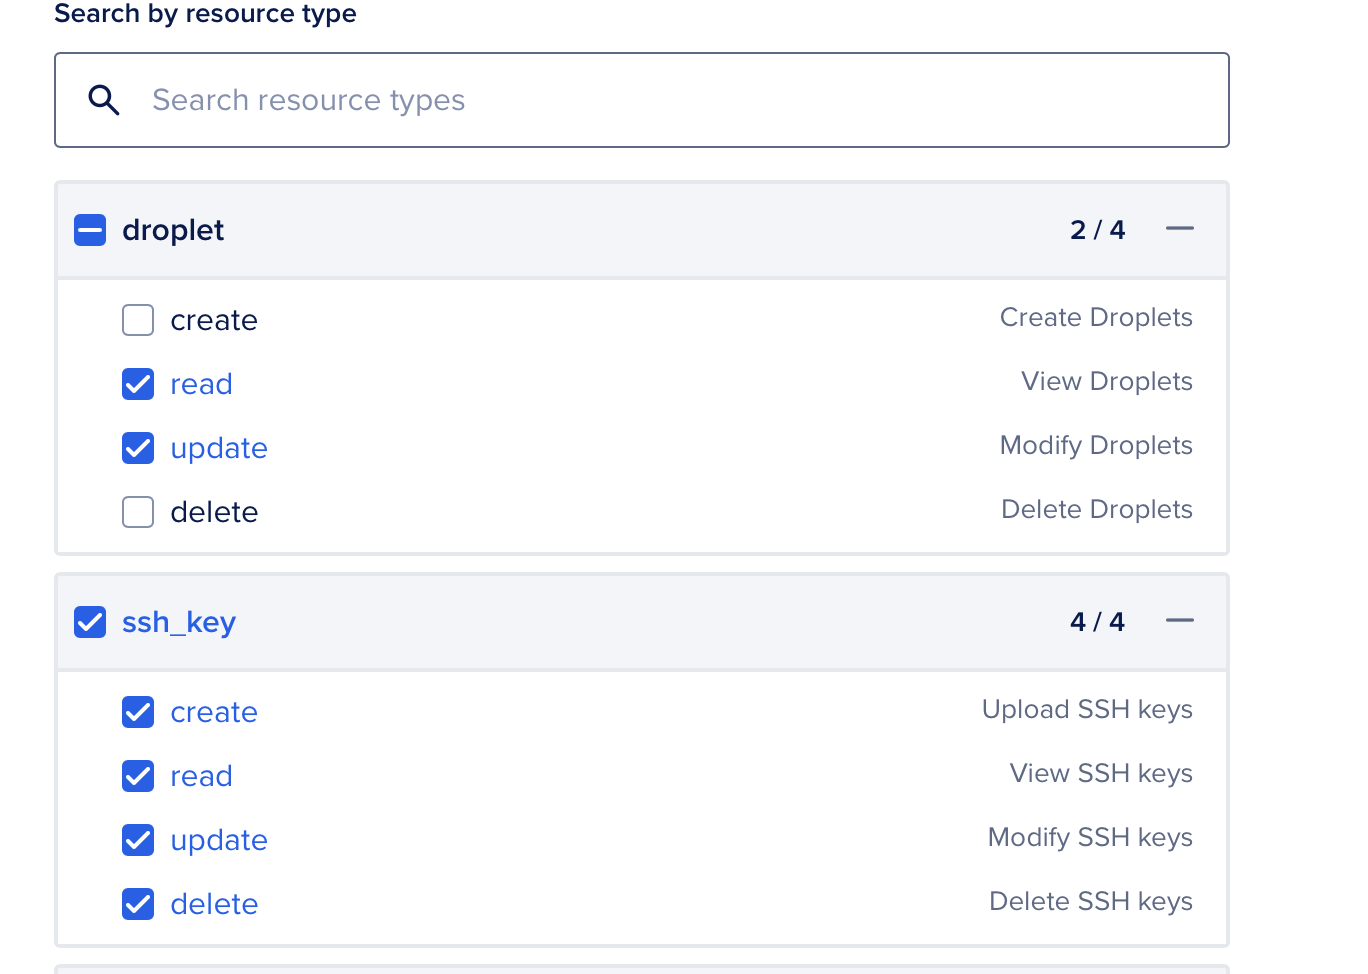
- Custom Scopes: For more security, select specific permissions:
- Droplets:
readandupdatescopes (to access droplet information and manage droplet state) - SSH Keys:
create,read,update, anddeletescopes (to automatically manage SSH keys for authentication)
- Droplets:
We recommend using custom scopes with the minimum required permissions listed above for enhanced security.
Once done, you can click on “Generate token”. Now, you should see your token with its personal access token. Be sure to copy it before closing this page, as the token is only shown at this step in the process, and losing it will require you to create a new one once more.
If you wish to know more about how these API tokens work, feel free to take a look in the following documentation.
Important Notice: DigitalOcean is implementing API authorization improvements in April 2025. If you experience connectivity issues after this date, you may need to recreate your API token with updated scopes to maintain the same functionality. We'll update this documentation as more details become available.
Adding your DigitalOcean droplet in DeployHQ
Once you have the DigitalOcean API token ready, you can insert it in your DeployHQ account so that you can your droplets available to select instead of adding your droplet parameters manually.
To do so, just go into your DeployHQ project, and create a new server. Select "DigitalOcean" as your protocol. The server form is organized into sections:
Server Details
Enter your DigitalOcean API token. Once added, the "Droplets" drop-down will automatically populate with your existing droplets. Select the one you wish to use. Make sure the droplet is running, as stopped droplets will cause a timeout error during DeployHQ's server creation.

Configuring the username
After selecting your droplet, you'll need to configure the username that DeployHQ will use to connect to your droplet. By default, this is set to root, but for security reasons, we strongly recommend using a non-root user for deployments.
If you're using a non-root user, make sure:
- The user exists on your droplet
- The user has the necessary permissions to access and modify files in your deployment path
- You'll add the DeployHQ SSH key to that specific user's .ssh/authorized_keys file (as detailed in the next section)
Security recommendation: Using a non-root user helps limit the potential impact of security issues. Consider creating a dedicated deployment user with only the permissions needed for your deployments.
Now, the only missing step is adding your DeployHQ server key to your DigitalOcean droplet, so that DeployHQ's connection can be authenticated through SSH.
Adding your DeployHQ SSH key in your droplet
The SSH key process normally needs you to generate a new key pair, and store the key pair following the SSH requirements. In this case, however, the key pair is already generated by DeployHQ, so you just need to do the follow-up step, which is to store the public SSH key in your droplet.
You can find the public key in the Authentication section of your server configuration, under the Public Key tab. Alternatively, use the Setup Script tab for a ready-to-use shell command that installs the key automatically.


To install the key manually, follow these steps:
- Connect to your droplet’s console.
- This can be done either through the DigitalOcean dashboard, under your droplet’s “Access” page, or through a regular SSH connection on your local terminal. More info on how to connect to the droplet through SSH can be found here.
- Access the
.ssh/authorized_keysfile for the user you configured in DeployHQ (by default, this would be the root user) with a file editor, such asnanoorvi. Important: The SSH key must be added to the same user you specified in the DeployHQ server configuration. Each user on your droplet has their own.ssh/folder, located in their respective$HOMEpaths (e.g.,/home/username/.ssh/for regular users or/root/.ssh/for root). - Add your DeployHQ public key to the
authorized_keysfile in a new line. If needed, set your
authorized_keysand its.sshparent folder’s permissions such that they’re accessible. This step might only be needed on your first droplet SSH configuration.chmod 700 ~/.ssh chmod 600 ~/.ssh/authorized_keys
For a more in-depth guide on how to add SSH keys to your existing droplets, feel free to check the following documentation on how to upload your SSH keys to existing DO droplets.
Finishing up the configuration
Once this is done, go back to your DeployHQ server configuration page. Configure your Deployment Path and any Advanced Options such as atomic deployments, then click "Create server".


And you're done! Your droplet is added to your DeployHQ server list, and you can start deploying as always.
Advanced Server Features
Your DigitalOcean droplet server supports several advanced features that can enhance your deployment experience:
Zero-Downtime Deployments (Atomic Deployments)
Enable atomic deployments to ensure zero downtime during deployments. This feature creates a new release directory for each deployment and atomically switches a symlink once the deployment is complete, ensuring your live application is never interrupted.
Learn more about setting up zero-downtime deployments
Turbo Deployments (Accelerated Transfer)
Speed up your deployments by up to 90% using compressed TAR-based transfers instead of transferring individual files. This is particularly beneficial for projects with many small files.
Learn more about Turbo Deployments
Unlink Before Upload
This option removes files from the server before uploading new versions, which can help avoid issues with certain file systems or deployment scenarios. This setting is available in your server configuration under advanced options.