How to create a server
In your DeployHQ project, a server is simply an endpoint that you connect and deploy your code to. DeployHQ can deploy your code to pretty much anywhere, using standard protocols such as SSH/SFTP, FTP or FTPS to connect to your servers. As well as this, we support a number of services such as Shopify or Amazon S3.
Adding a new server
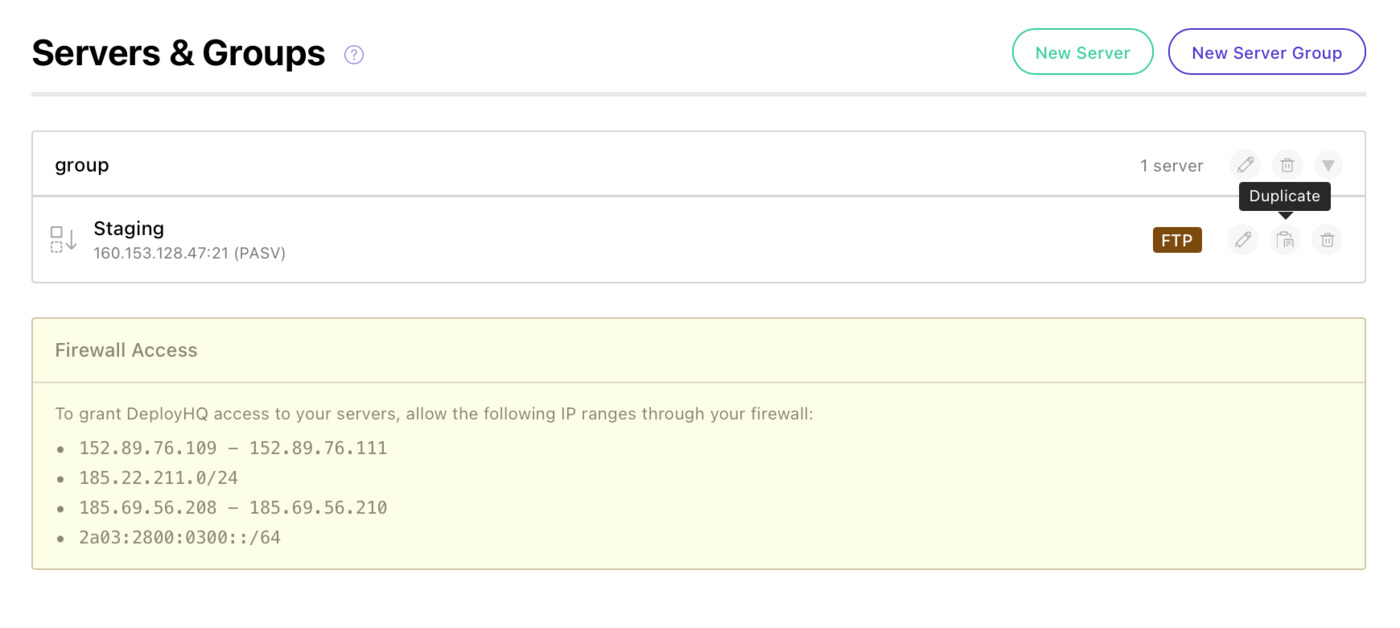
You can add the new server to your project by heading to the Servers & Groups page in your project, then clicking the New Server button on the right hand side of the page.
Enter a name for your server so you can easily identify it in the future, then optionally choose a server group (which you can read more about here).
Next, choose the appropriate protocol you want to connect to your server with:
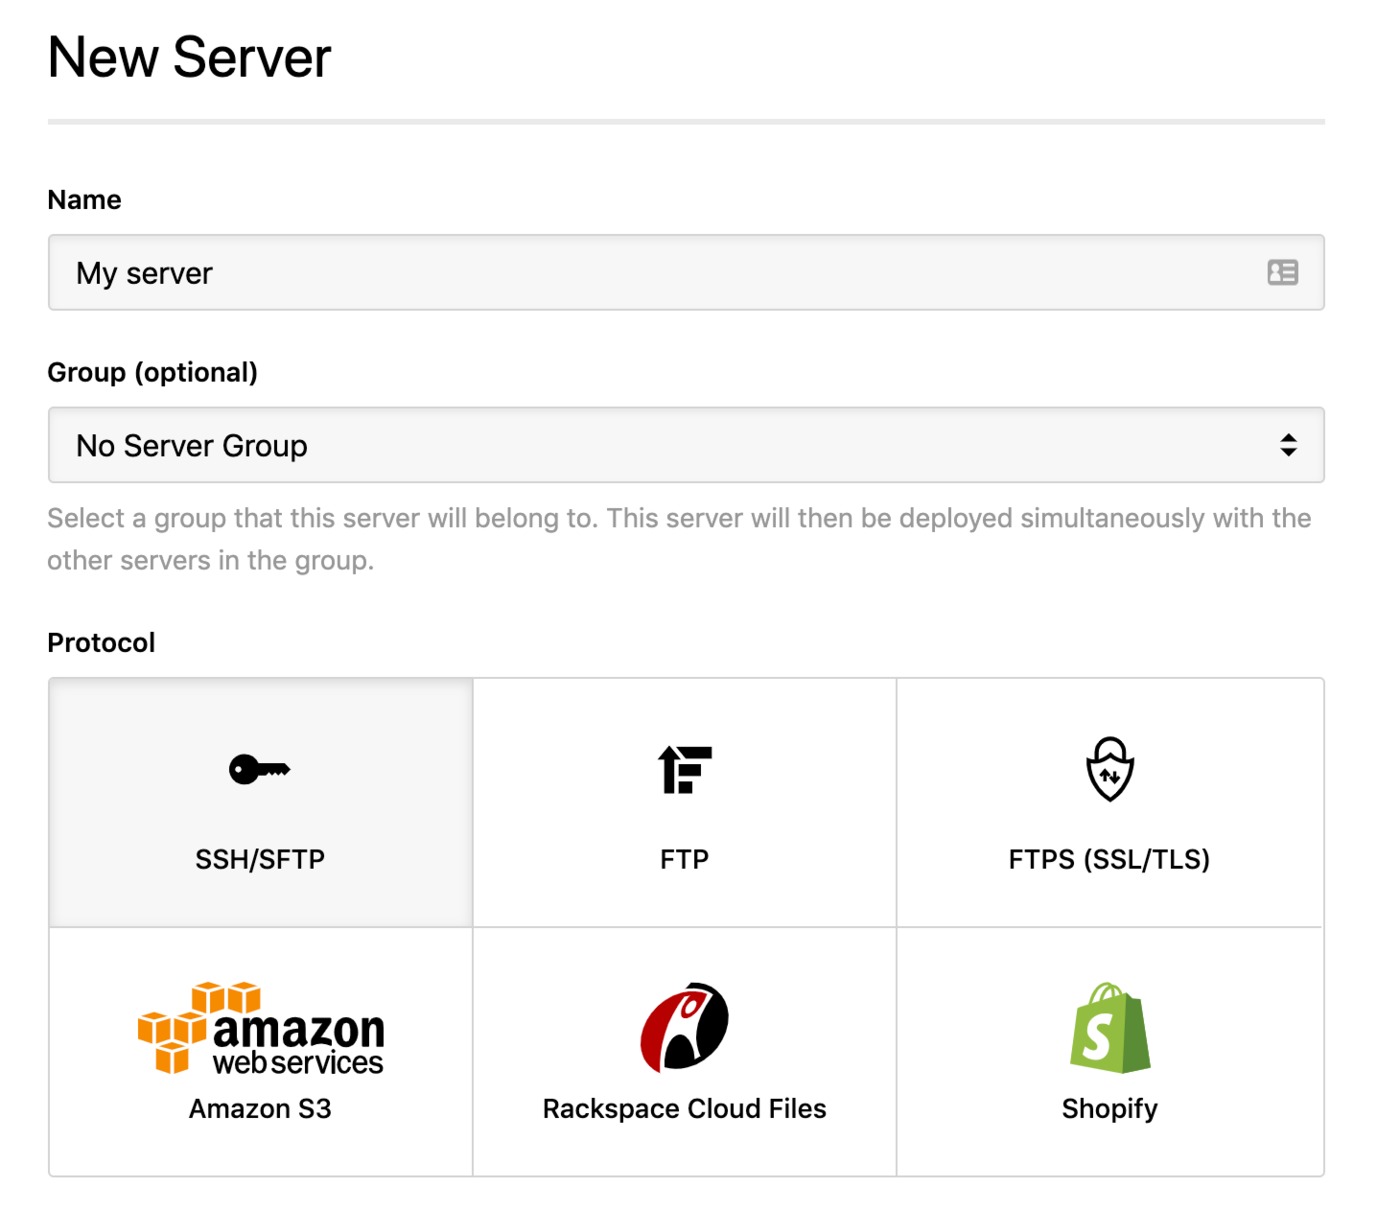
- SSH/SFTP server
- Rsync
- FTP server
- FTPS server
- Amazon S3 Bucket
- S3-Compatible Storage (Cloudflare R2, Wasabi, Backblaze B2, MinIO, and more)
- Rackspace Cloud Files
- Shopify
- DigitalOcean Droplet
- Hetzner Cloud
- AWS Elastic Beanstalk
- Heroku
- Netlify
- Docker Build
- Custom Action
- Mock (for testing deployments without a real server)
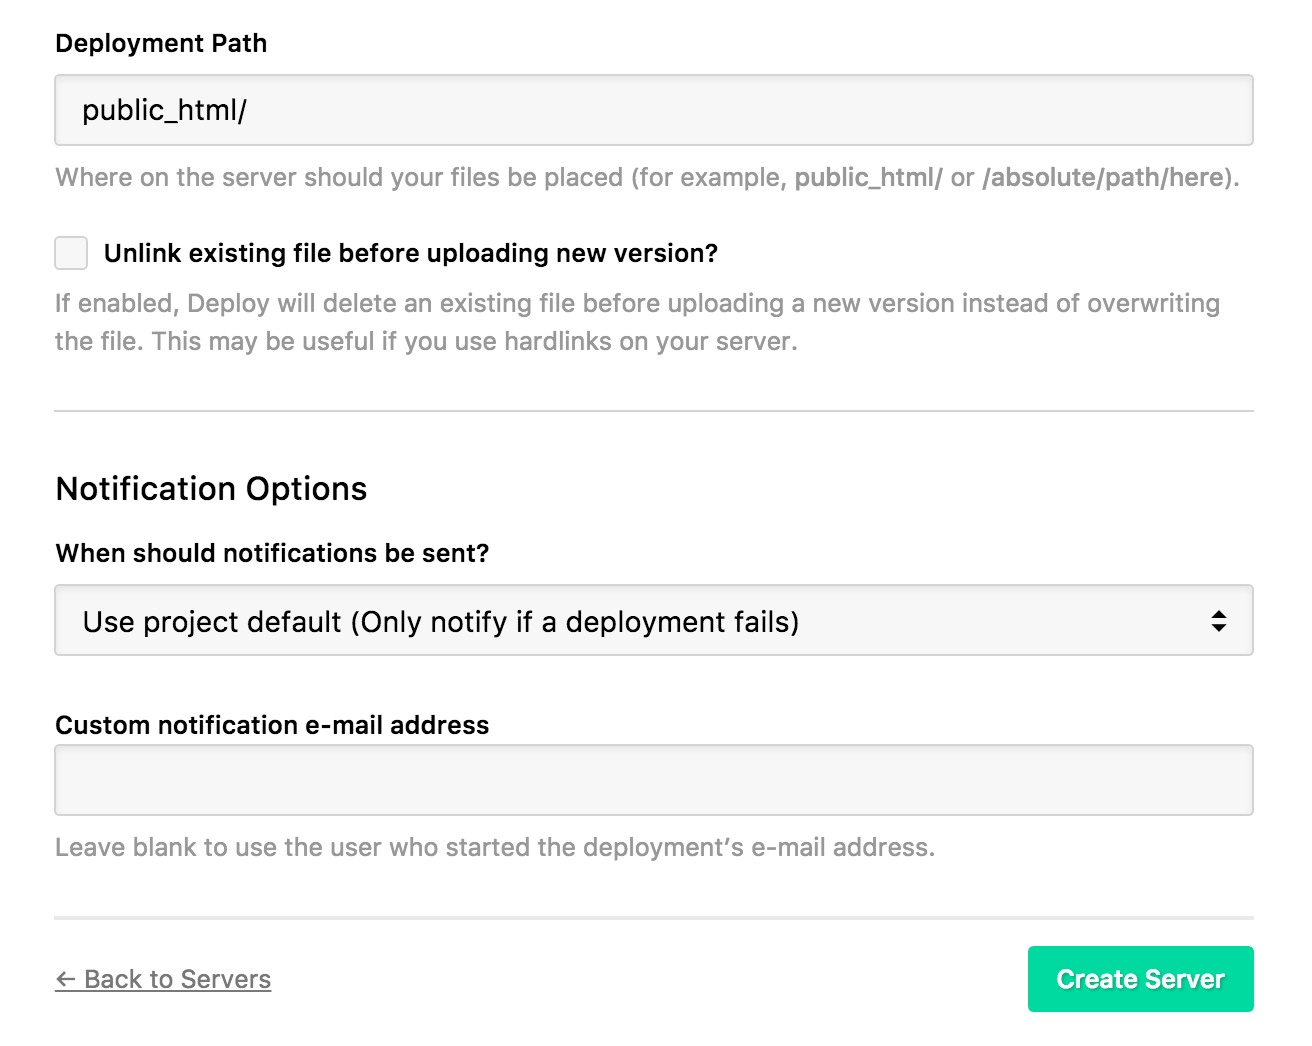
Each server form is organized into clearly labeled sections (such as Server Details, Authentication, Deployment Path, and Advanced Options) to guide you through the configuration. Once you've configured your connection details, click Create Server. DeployHQ will check your connection and present you with a list of your servers.
We have additional documentation covering advanced server settings and notifications in our Advanced server configuration and Notifications articles respectively.
Copying a server
In order to make a copy of a server you've created previously, you can click the "duplicate" button within the server list.