Starting a deployment
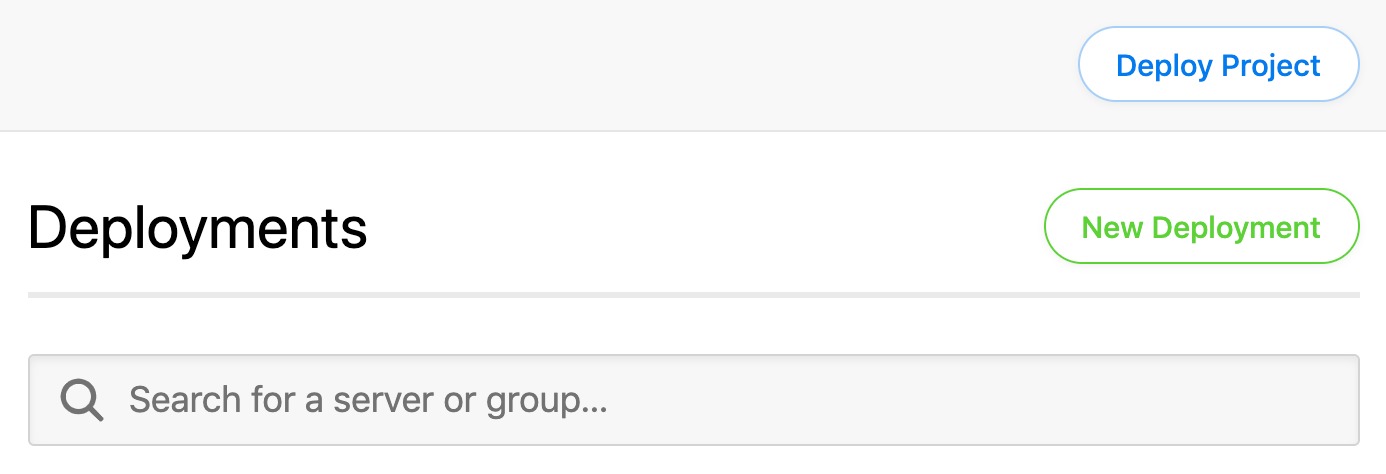
To start a deployment, either click the Deploy Project button at the top of the screen from any page in your project, or the New Deployment button within your Overview page:

DeployHQ prepares a deployment by checking the last revision that was deployed to your server, then comparing it to the latest one pushed to the remote branch, therefore when you deploy to a server for the first time, DeployHQ will upload the whole repository.
As a result, you'll see the Start Revision, the commit that your files will be deployed from, set to "The very first commit":

If you already have your files on your server and want to skip this, you can find out how to do so within the guide on the left hand side of this page.
Once you're happy with the configuration for your deployment, hit Deploy and your deployment will start, otherwise, you can press Preview and DeployHQ will generate a full list of changes that will be included in your deployment, allowing you to check before starting it.
When you start a deployment, the process consists of several stages, which we will outline in further detail below.
Preparing
During this stage, we'll check connections to your server and repository, then if these tests pass we will checkout a working copy of your repository at the specified end revision, then update it from its source.

Building
If you have a build pipeline setup, any configured commands will be run, then a manifest of your changes will be prepared for deployment.

Transferring
During this stage, DeployHQ will connect to your server, then run any configured pre-transfer SSH commands. You can find out more about setting up SSH commands in this article. After this, all files will be uploaded or removed as appropriate. The Transferring files section will show a progress bar of all the files as they're being transferred, and you can toggle Show file destinations? to display the path on the your server that the files are being uploaded to.
Finally, any configuration files set up for this server and deployment will be uploaded, then any configured post-transfer SSH commands will be run.

Finishing
At this point, any configured notifications will be delivered, then emails will be sent to configured recipients with the status of the deployment.

For more advanced settings, just choose any article within the Configuration section on the left hand side of this page.