
Manually entering data from a website into a spreadsheet is slow and frustrating. Web scraping solves this by automatically pulling data from websites into a clean, usable format for analysis or other purposes.
Businesses rely on it to stay ahead—tracking competitors, spotting market trends, or improving their products. For instance, you could scrape social media to check how people feel about a brand or grab product listings to monitor prices across online stores.
In this blog post, we'll create a web scraping script with Python and ScraperAPI and finally set up automatic deployment using DeployHQ!
Introduction to ScraperAPI
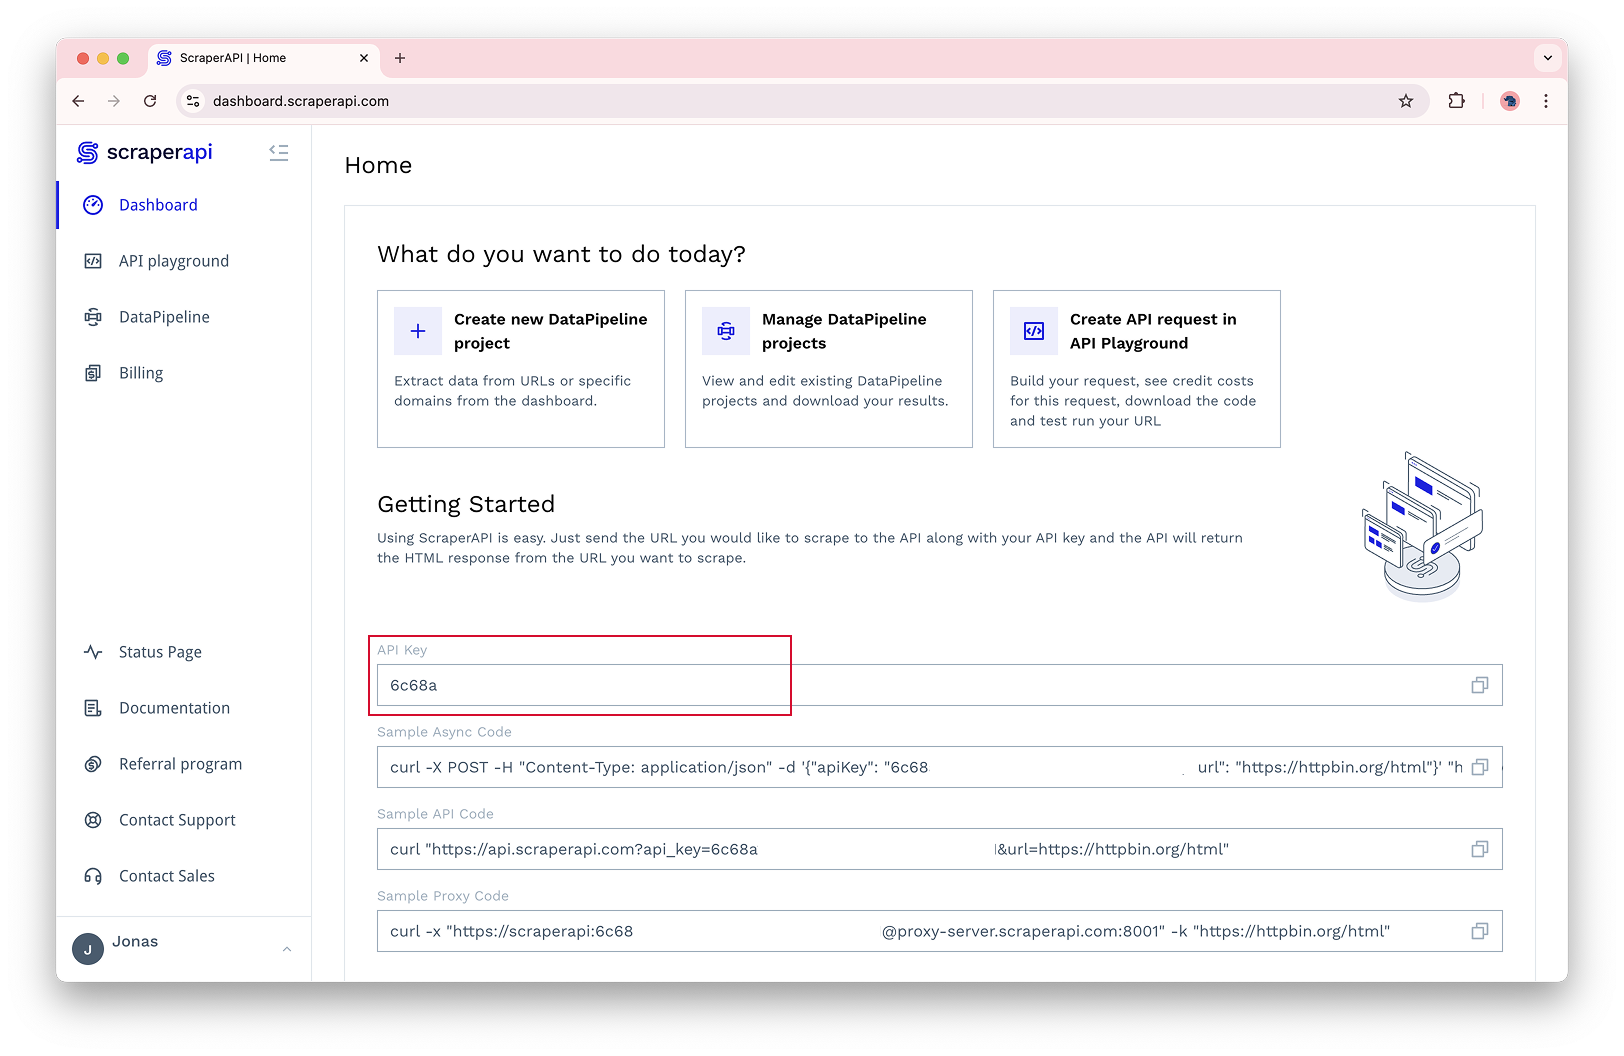
Web scraping can be incredibly difficult, requiring you to manage proxies, deal with CAPTCHAs, and handle websites that use client-side rendering. ScraperAPI solves all of these problems for you! ScraperAPI is a web scraping API that allows users to extract data from any public website without managing proxies, browsers, or CAPTCHAs. The best part is that it's super easy to use and has a generous free tier that we are going to use for this tutorial. No need to add any credit card information to get started! Before we get started, go to scraperapi.com and sign up for a free account. Copy the API key and save it for later (in a secure location of course).
Scraping Tutorial
When scraping you should always consider the Terms of Service of the website you are scraping. For that reason, we will scrape our own DeployHQ Blog as an example. The goal here is to update us whenever a new blog post is published. Pretty simple!
Looking at the HTML of the blog archive page, we can see that the page is completly static and luckily for us, very easy to scrape. First, download the HTML of the blog archive page so that we can analyze it manually.
curl https://www.deployhq.com/blog/archive > blogs.html
Looking at the HTML, we can see that each blog post is wrapped in an <article> tag with a class of blog-article-boxes__article and most importantly, everything is static and very easy to scrape.
<article class="blog-article-boxes__article">
<a
class="blog-article-boxes__image"
style="
background-image: url(https://blog.deployhq.com/attachment/1dc53621-4745-4c9a-8bac-71e5a016d497/thumb800.jpg);
"
href="https://www.deployhq.com/blog/deployhq-a-game-changer-for-web-agencies"
></a>
<div class="blog-article-boxes__content">
<h3 class="blog-article-boxes__title">
<a
class="blog-article-boxes__link"
href="https://www.deployhq.com/blog/deployhq-a-game-changer-for-web-agencies"
>DeployHQ: A Game-Changer for Web Agencies</a
>
</h3>
<p class="blog-article-boxes__date">
<time
content="2025-02-06T09:46:50+00:00"
itemprop="datePublished"
pubdate="true"
datetime="2025-02-06T09:46:50+00:00"
>6th February 2025</time
>
</p>
<p class="blog-article-boxes__excerpt">
Managing multiple projects, diverse hosting providers, and
varying team permissions can be a daunting task for web
agencies. The complexity of juggling these elements can often
lead to inefficiencies and errors. That's where DeployHQ
comes in as a powerful solution.
</p>
</div>
</article>
Extracting the data from the HTML is a breeze with BeautifulSoup and ScraperAPI. Let's go through the Python code step by step.
For simplicity, our script maintains a set of known post URLs in a JSON file for persistence. Of course you could also use a proper database for this
Each time the script runs, it:
1- Loads the existing known posts from a JSON file:
try:
    with open(KNOWN_POSTS_FILE, 'r') as f:
        known_posts = set(json.load(f))
except FileNotFoundError:
    known_posts = set()
2- Fetches the blog page through ScraperAPI:
response = requests.get('https://api.scraperapi.com', params={
    'api_key': api_key,
    'url': 'https://www.deployhq.com/blog/archive'
})
3- Parses the HTML and finds all blog post articles:
for article in BeautifulSoup(response.text, 'html.parser').find_all('article', class_='blog-article-boxes__article'):
4- For each article, extracts the URL and checks if we've seen it before:
if (url := article.find('a', class_='blog-article-boxes__link')['href']) not in known_posts:
    logging.info(f"New post: {article.find('a', class_='blog-article-boxes__link').text.strip()}\nURL: {url}\n")
    known_posts.add(url)
5- Saves the updated set of known posts back to the JSON file:
with open(KNOWN_POSTS_FILE, 'w') as f:
    json.dump(list(known_posts), f, indent=2)
The entire script looks like this:
import requests
from bs4 import BeautifulSoup
import logging
import os
import json

logging.basicConfig(level=logging.INFO, format='%(asctime)s - %(message)s')

KNOWN_POSTS_FILE = 'known_posts.json'

try:
    with open(KNOWN_POSTS_FILE, 'r') as f:
        known_posts = set(json.load(f))
except FileNotFoundError:
    known_posts = set()

if not (api_key := os.getenv('SCRAPER_API_KEY')):
    logging.error("SCRAPER_API_KEY environment variable not set")
    exit(1)


def check_blog():
    try:
        response = requests.get('https://api.scraperapi.com', params={
            'api_key': api_key,
            'url': 'https://www.deployhq.com/blog/archive'
        })
        for article in BeautifulSoup(response.text, 'html.parser').find_all('article', class_='blog-article-boxes__article'):
            if (url := article.find('a', class_='blog-article-boxes__link')['href']) not in known_posts:
                logging.info(
                    f"New post: {article.find('a', class_='blog-article-boxes__link').text.strip()}\nURL: {url}\n")
                known_posts.add(url)
    except Exception as e:
        logging.error(f"Error: {str(e)}")

    # Save updated known posts to JSON file
    with open(KNOWN_POSTS_FILE, 'w') as f:
        json.dump(list(known_posts), f, indent=2)


logging.info("Starting blog check...")
check_blog()
logging.info("Blog check completed.")
Thats pretty easy. In a real scenario you would implement real notifications, for example sending an email or a slack message. Here a log is enough for now.
Configuration
The script uses environment variables for configuration. Set your ScraperAPI key (the thing you copied earlier) before running:
export SCRAPER_API_KEY=your_key_here
Running the Monitor
The script is designed to be run periodically using cron. To check for new posts every 30 minutes, add this to your crontab:
*/30 * * * * cd /path/to/script/directory && source venv/bin/activate && SCRAPER_API_KEY=your_key_here python scrape.py
This crontab assumes you have a virtual environment and that you are running the script from the directory of the script. You can create one with python -m venv venv and activate it with source venv/bin/activate. Of course you will need a requirements.txt file to install the dependencies, this one should be enough:
beautifulsoup4==4.13.3
bs4==0.0.2
requests==2.32.3
Now you could of course just put that script on a server and be done with it. But if you want to regularly update the script, managing deployments is going to be pretty annoying. For that reason, we are going to use DeployHQ to automatically deploy the script to a server!
Introduction to DeployHQ
DeployHQ is a deployment service that automates code deployment from repositories to servers. It supports Git, SVN, and Mercurial, integrating with platforms like GitHub, Bitbucket, and GitLab. DeployHQ offers features such as automatic and zero-downtime deployments, customizable build pipelines, and integrations with tools like Slack. It provides a GUI, API, and CLI access for developers with options for deployment templates. DeployHQ also allows for deploying configuration files separately and supports multiple server types, including those behind firewalls.
Deployment Tutorial
Step 0: Setup your server
For this tutorial, we'll use a basic Hetzner server with Ubuntu 22.04. Here's how to set it up:
1- Create a dedicated user for DeployHQ:
sudo adduser deployhq
sudo usermod -aG sudo deployhq
2- Set up SSH access (either password or key-based):
# For password authentication, just set a secure password
sudo passwd deployhq

# For SSH key authentication (recommended)
sudo -u deployhq mkdir -p ~/.ssh
# Copy your public key to ~/.ssh/authorized_keys
3- Create the deployment directory:
sudo mkdir -p /opt/blog-scraper
sudo chown deployhq:deployhq /opt/blog-scraper
4- Set up Python environment:
cd /opt/blog-scraper
python3 -m venv venv
source venv/bin/activate
pip install -r requirements.txt
5- Create the cron job:
sudo crontab -e
# Add this line:
*/30 * * * * cd /opt/blog-scraper && /opt/blog-scraper/venv/bin/python scrape.py
That's it! Your server is now ready for DeployHQ deployments.
Step 1: Create a New Project
- Log in to your DeployHQ account
- Click
New Project
in the top right - Enter a name for your project (e.g.,
Blog Scraper
) - Select one of the options for your repository provider and follow the instructions to connect your repository.
Step 2: Configure Your Server
- Go to
Servers & Groups
in the left sidebar - Click
New Server
- Pick SSH and fill in the server details:
- Name: Give your server a descriptive name (e.g.,
Production
) - Hostname: Your server's IP address or domain
- Port: Usually 22
- Username: Your SSH username
- Authentication: Choose between password or SSH key
- Deployment Path: The directory where your script will be deployed (e.g.,
/opt/blog-scraper). This needs to be the same path as in your cron job.
- Name: Give your server a descriptive name (e.g.,
- Click
Create Server
- DeployHQ will test the connection - if successful, you'll see a green checkmark
Step 3: Configure Dependency update
Since we're deploying a Python script, we need to set up a virtual environment and install the required dependencies. DeployHQ makes this easy with SSH Commands.
Go to your project and click on SSH Commands
in the left sidebar.
- Click
New Command
- Fill in the details:
- Description: Setup Python environment
- Command:
source venv/bin/activate && pip install -r requirements.txt - When?:
After changes are complete
- Click
Create SSH Command
This will be executed after the deployment on your server and will update the dependencies.
Step 4: Test Deployment
Houston, we are ready to deploy!
Before we finish, let's test the deployment manually once.
- Go to your project and click on
Deployments
in the left sidebar. - Click
New Deployment
- Select the branch you want to deploy
- Click
Deploy
You can follow the progress of the deployment in the DeployHQ dashboard. Once it's done, you can check your deployment folder to see if the deployment was successful.
If that worked, you can now enable automatic deployments on git push under the Automatic Deployments
tab.
FAQ
You got questions? We got answers!
Is web scraping legal?
Web scraping is generally legal when done responsibly and in accordance with the website's Terms of Service. However, it's important to:
- Check the website's Terms of Service before scraping
- Only scrape publicly available data
- Respect rate limits and robots.txt files
- Consider the impact on the target website's resources
Does DeployHQ have a free tier?
Yes! DeployHQ offers a free tier that includes:
- 1 project
- Auto-deploys
- 30 build minutes per month
- All integrations
How much does DeployHQ cost?
You can get started for free! All DeployHQ plans cover the basics of deploying ProcessWire. Here's a quick overview:

Looking for more? Our Business ($39/mo) and Enterprise ($99/mo) plans include additional features like custom domains, priority deployments, and the ability to deploy behind firewalls.
Start free, no credit card required →
Do you have to use ScraperAPI?
No, you don't have to use ScraperAPI. While it's not mandatory, ScraperAPI makes web scraping significantly easier by handling:
- Proxy management
- CAPTCHA solving
- Browser rendering
- IP rotation
- And other common scraping challenges