Keycloak is the most widely adopted open-source identity and access management (IAM) platform, trusted by organisations from startups to Fortune 500 companies. It handles single sign-on, social login, multi-factor authentication, and fine-grained role-based access control so your application code never has to touch password hashing or token management directly.
This guide walks through a production-ready Keycloak 26 deployment on a Linux VPS using Docker Compose, PostgreSQL, and Nginx with TLS — the same stack pattern used in enterprise environments. We will also set up automated configuration deployments with DeployHQ so that realm exports, theme changes, and environment tweaks flow through a proper CI/CD pipeline instead of manual SSH sessions.
What Keycloak does (and why you need it)
Before diving into the install, here is a quick look at what Keycloak replaces:
| Without Keycloak | With Keycloak |
|---|---|
| Hand-rolled login forms per app | Single sign-on across every app |
| Custom OAuth/OIDC plumbing | Standards-compliant identity provider out of the box |
| Password storage in each database | Centralised credential vault with bcrypt/argon2 |
| Per-app MFA integration | MFA policies configured once, enforced everywhere |
| Manual user provisioning | User federation with LDAP, Active Directory, or external databases |
Keycloak supports OpenID Connect, SAML 2.0, and OAuth 2.0, which means it slots into virtually any stack — Java, Node, Python, .NET, PHP, Go, or frontend SPAs.
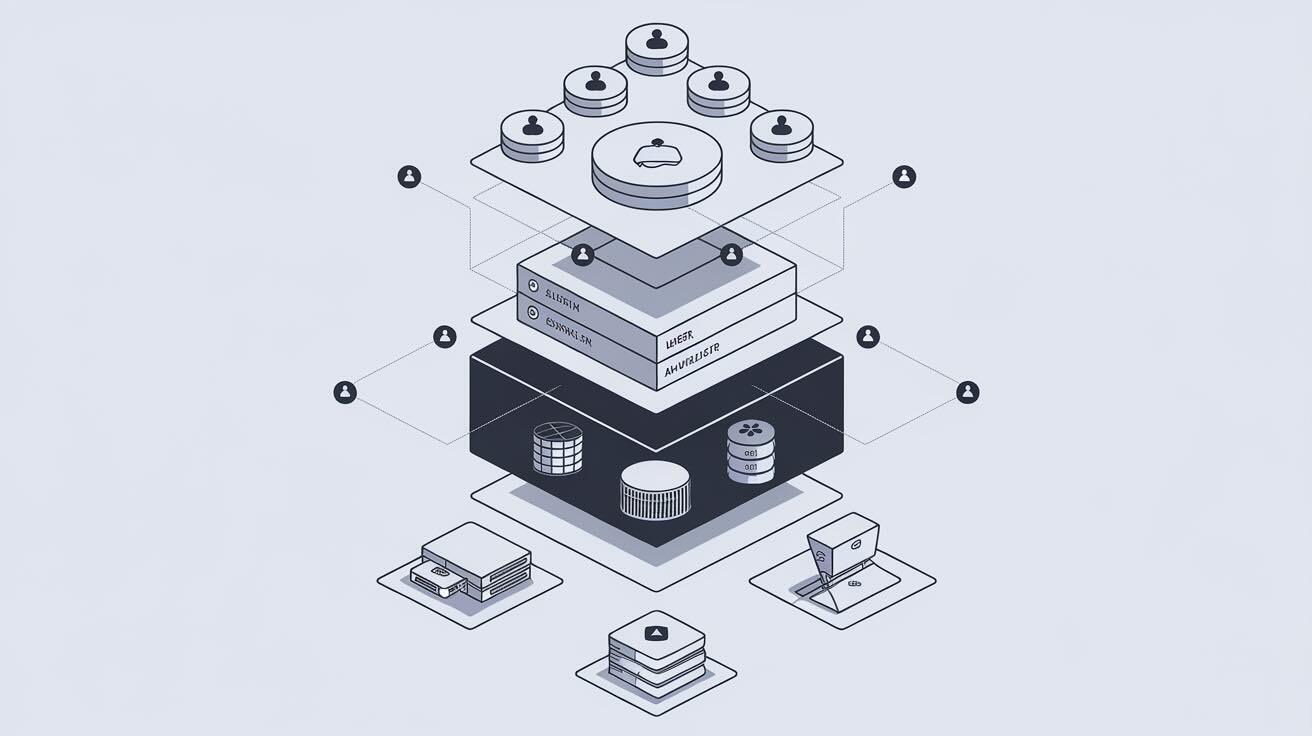
Architecture overview
Here is the target architecture we are building:
flowchart LR
    Browser["Browser / App"]
    Nginx["Nginx\n(TLS termination)"]
    KC["Keycloak 26\n(Quarkus)"]
    PG["PostgreSQL 17"]
    DeployHQ["DeployHQ\n(Config deploys)"]
    Git["Git Repo\n(realm exports, themes)"]

    Browser -->|HTTPS :443| Nginx
    Nginx -->|HTTP :8080| KC
    KC -->|JDBC :5432| PG
    Git -->|push| DeployHQ
    DeployHQ -->|SSH deploy| KC
All three services (Nginx, Keycloak, PostgreSQL) run as Docker containers orchestrated by Compose. Keycloak runs in production mode (kc.sh start), not the development mode (start-dev) that disables security features.
Prerequisites
- A VPS with at least 2 GB RAM and 2 vCPUs (Ubuntu 22.04 or 24.04 recommended)
- A domain name pointed at your VPS IP (e.g.
auth.example.com) - SSH access with a sudo-capable user
- Docker Engine and Docker Compose v2 installed
- A DeployHQ account (free tier works)
Step 1: Install Docker
If Docker is not already installed:
sudo apt update && sudo apt upgrade -y
curl -fsSL https://get.docker.com | sudo sh
sudo usermod -aG docker $USER
Log out and back in so the group change takes effect, then verify:
docker compose version
You should see Docker Compose version v2.x.x.
Step 2: Create the project structure
mkdir -p ~/keycloak-stack/{nginx,certs,keycloak-data}
cd ~/keycloak-stack
flowchart TD
    A["keycloak-stack/"] --> B["docker-compose.yml"]
    A --> C[".env"]
    A --> D["nginx/"]
    D --> E["default.conf"]
    A --> F["certs/"]
    A --> G["keycloak-data/"]
Step 3: Write the .env file
Create ~/keycloak-stack/.env with your actual values:
# PostgreSQL
POSTGRES_DB=keycloak
POSTGRES_USER=keycloak
POSTGRES_PASSWORD=CHANGE_ME_to_a_strong_random_string

# Keycloak
KC_DB_PASSWORD=CHANGE_ME_to_a_strong_random_string
KC_HOSTNAME=auth.example.com
KEYCLOAK_ADMIN=admin
KEYCLOAK_ADMIN_PASSWORD=CHANGE_ME_admin_password

# Nginx / TLS
DOMAIN=auth.example.com
EMAIL=you@example.com
Security note: never commit .env files to version control. Add .env to .gitignore and manage secrets through DeployHQ's environment variable support or your VPS provider's secret management.
Step 4: Write docker-compose.yml
services:
  postgres:
    image: postgres:17-alpine
    restart: unless-stopped
    environment:
      POSTGRES_DB: ${POSTGRES_DB}
      POSTGRES_USER: ${POSTGRES_USER}
      POSTGRES_PASSWORD: ${POSTGRES_PASSWORD}
    volumes:
      - pgdata:/var/lib/postgresql/data
    healthcheck:
      test: ["CMD-SHELL", "pg_isready -U ${POSTGRES_USER}"]
      interval: 10s
      timeout: 5s
      retries: 5

  keycloak:
    image: quay.io/keycloak/keycloak:26.0
    restart: unless-stopped
    depends_on:
      postgres:
        condition: service_healthy
    command: start --optimized
    environment:
      KC_DB: postgres
      KC_DB_URL_HOST: postgres
      KC_DB_URL_DATABASE: ${POSTGRES_DB}
      KC_DB_USERNAME: ${POSTGRES_USER}
      KC_DB_PASSWORD: ${KC_DB_PASSWORD}
      KC_HOSTNAME: ${KC_HOSTNAME}
      KC_PROXY_HEADERS: xforwarded
      KC_HTTP_ENABLED: "true"
      KC_HEALTH_ENABLED: "true"
      KEYCLOAK_ADMIN: ${KEYCLOAK_ADMIN}
      KEYCLOAK_ADMIN_PASSWORD: ${KEYCLOAK_ADMIN_PASSWORD}
    ports:
      - "127.0.0.1:8080:8080"
    healthcheck:
      test: ["CMD-SHELL", "exec 3<>/dev/tcp/localhost/9000 && echo -e 'GET /health/ready HTTP/1.1\\r\\nHost: localhost\\r\\nConnection: close\\r\\n\\r\\n' >&3 && cat <&3 | grep -q '200'"]
      interval: 30s
      timeout: 10s
      retries: 3

  nginx:
    image: nginx:alpine
    restart: unless-stopped
    depends_on:
      - keycloak
    ports:
      - "80:80"
      - "443:443"
    volumes:
      - ./nginx/default.conf:/etc/nginx/conf.d/default.conf:ro
      - ./certs:/etc/letsencrypt:ro

volumes:
  pgdata:
Key decisions explained:
start --optimizedruns the Quarkus-compiled production build (notstart-dev)127.0.0.1:8080binds Keycloak only to localhost — Nginx handles external trafficKC_PROXY_HEADERS: xforwardedtells Keycloak it sits behind a reverse proxy- PostgreSQL 17 with a health check ensures Keycloak does not start before the database is ready
Step 5: Configure Nginx with TLS
First, obtain a TLS certificate with Certbot:
sudo apt install certbot -y
sudo certbot certonly --standalone -d auth.example.com --email you@example.com --agree-tos --no-eff-email
Certbot stores certificates in /etc/letsencrypt/. We mount that directory read-only into the Nginx container.
Create nginx/default.conf:
upstream keycloak {
    server keycloak:8080;
}

server {
    listen 80;
    server_name auth.example.com;
    return 301 https://$host$request_uri;
}

server {
    listen 443 ssl http2;
    server_name auth.example.com;

    ssl_certificate     /etc/letsencrypt/live/auth.example.com/fullchain.pem;
    ssl_certificate_key /etc/letsencrypt/live/auth.example.com/privkey.pem;

    ssl_protocols TLSv1.2 TLSv1.3;
    ssl_ciphers HIGH:!aNULL:!MD5;
    ssl_prefer_server_ciphers on;

    # Security headers
    add_header Strict-Transport-Security "max-age=31536000; includeSubDomains" always;
    add_header X-Content-Type-Options nosniff always;
    add_header X-Frame-Options SAMEORIGIN always;

    location / {
        proxy_pass http://keycloak;
        proxy_set_header Host $host;
        proxy_set_header X-Real-IP $remote_addr;
        proxy_set_header X-Forwarded-For $proxy_add_x_forwarded_for;
        proxy_set_header X-Forwarded-Proto $scheme;
        proxy_set_header X-Forwarded-Host $host;
        proxy_buffer_size 128k;
        proxy_buffers 4 256k;
        proxy_busy_buffers_size 256k;
    }
}
Step 6: Start the stack
cd ~/keycloak-stack
docker compose up -d
Watch the logs until Keycloak reports it is ready:
docker compose logs -f keycloak
You should see a line like:
Keycloak 26.0.x on JVM (powered by Quarkus) started in Xs
Open https://auth.example.com in your browser. You should see the Keycloak welcome page. Log in to the admin console with the credentials you set in .env.
Step 7: Automate deployments with DeployHQ
Manual SSH sessions do not scale. Here is how to manage your Keycloak configuration (realm exports, themes, provider JARs) through a Git-backed deployment pipeline.
7a: Create a Git repository for your Keycloak config
keycloak-config/
  realms/
    my-realm.json        # Exported realm configuration
  themes/
    my-theme/
      login/
        theme.properties
        ...
  providers/
    custom-spi.jar
  deploy.sh              # Post-deploy hook
7b: Connect to DeployHQ
- Sign up or log in to DeployHQ
- Create a new project and connect your Git repository (GitHub, GitLab, or Bitbucket)
- Add an SSH/SFTP server pointing to your VPS
- Set the deploy path to
/home/deploy/keycloak-config/ - Under Config Files, add your
.envso secrets stay out of Git
7c: Add a post-deploy command
In DeployHQ's SSH Commands section, add a command that runs after each deploy:
cd /home/deploy/keycloak-config && bash deploy.sh
Your deploy.sh might look like:
#!/usr/bin/env bash
set -euo pipefail

# Import updated realm configuration
docker exec keycloak-stack-keycloak-1 \
  /opt/keycloak/bin/kc.sh import \
  --dir /opt/keycloak/data/import \
  --override true

# Restart Keycloak to pick up theme and provider changes
cd /home/deploy/keycloak-stack
docker compose restart keycloak

echo "Keycloak configuration deployed successfully"
Now every git push triggers a deployment — realm changes, theme updates, and provider JARs flow automatically from your repository to your Keycloak instance.
Step 8: Harden your installation
A production Keycloak instance needs more than just TLS. Here is a checklist:
- Rotate the admin password after first login and store it in a password manager
- Enable brute-force detection in each realm (Realm Settings > Security Defenses)
- Set password policies (minimum length, complexity, password history)
- Enable MFA for admin accounts at minimum (Authentication > Flows)
- Restrict admin console access to your IP range using Nginx
allow/denydirectives - Set up automatic certificate renewal:
sudo certbot renew --deploy-hook "docker compose -f /home/deploy/keycloak-stack/docker-compose.yml restart nginx" - Monitor health:
curl -sf https://auth.example.com/health/readyin your monitoring tool - Back up PostgreSQL regularly:
docker exec keycloak-stack-postgres-1 pg_dump -U keycloak keycloak > backup.sql
Troubleshooting
| Symptom | Likely cause | Fix |
|---|---|---|
| Keycloak exits immediately | PostgreSQL not ready | Check docker compose logs postgres; ensure health check passes |
HTTPS requirederror in admin console |
KC_PROXY_HEADERS not set |
Verify the env var is xforwarded and Nginx sends X-Forwarded-Proto |
| Login redirect loop | Hostname mismatch | Ensure KC_HOSTNAME matches your actual domain |
Failed to obtain JDBC connection |
Wrong DB credentials | Compare POSTGRES_PASSWORD and KC_DB_PASSWORD in .env |
| Nginx 502 Bad Gateway | Keycloak still starting | Wait 30-60 seconds; check docker compose logs keycloak |
What to do next
With Keycloak running in production, here are the logical next steps:
- Create your first realm and configure an OpenID Connect client for your application
- Set up user federation if you have existing users in LDAP or Active Directory
- Enable social login (Google, GitHub, Microsoft) for your end users
- Export your realm config to Git so it is version-controlled and deployable via DeployHQ
- Add monitoring with Prometheus — Keycloak 26 exposes metrics at
/metricswhenKC_METRICS_ENABLED=true, and pair it with systemd plus Monit for service-level health checks and auto-restart
For a deeper dive into securing your deployment pipeline and managing environment-specific configurations, check out the related guides on the DeployHQ blog.
If you have questions or need help, reach out to us at support@deployhq.com or on Twitter/X.