In this series
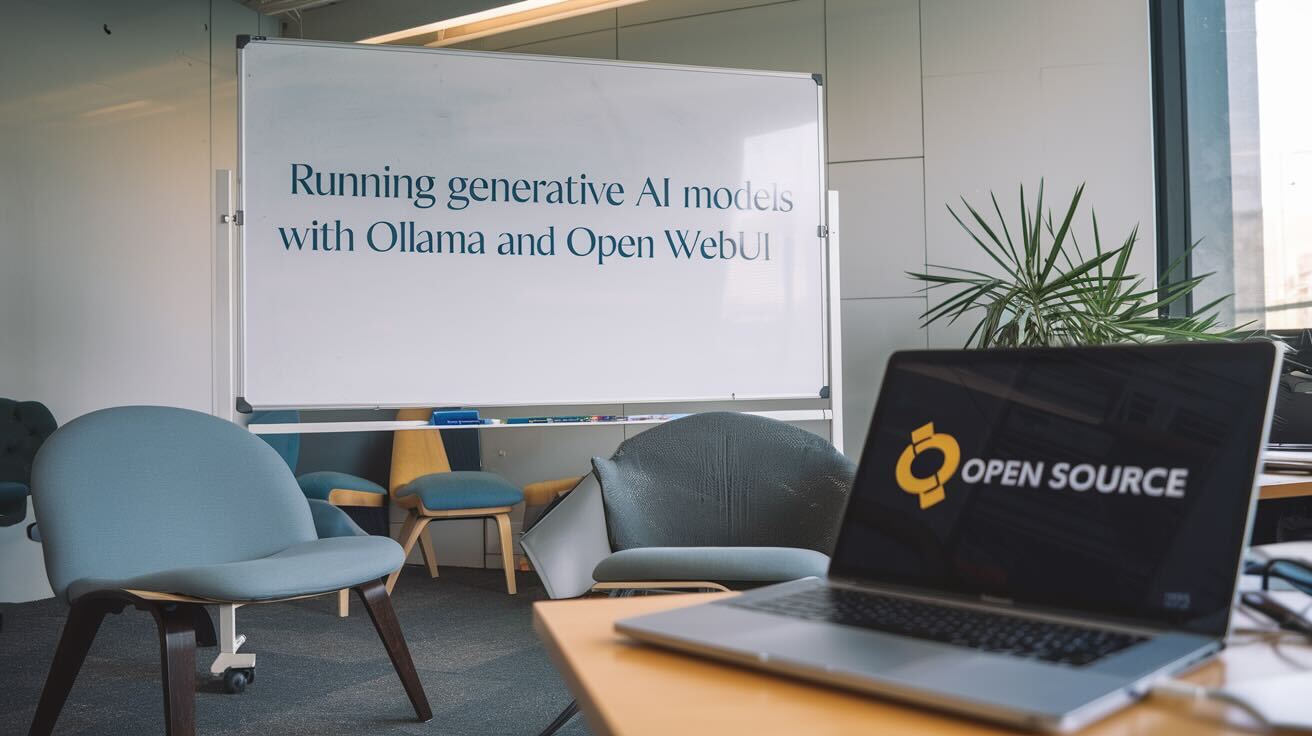
Artificial Intelligence, particularly Generative AI, is rapidly evolving and becoming more accessible to everyday users. With large language models (LLMs) such as GPT and LLaMA making waves, the desire to run these models locally on personal hardware is growing. This article will provide a simple guide on setting up Ollama—a tool for running LLMs locally—on machines with and without a GPU, and implementing automated deployments using DeployHQ.
What is Ollama?
Ollama is a platform that allows users to run LLMs locally without relying on cloud-based services. It is designed to be user-friendly and supports a variety of models. By running models locally, users can ensure greater privacy, reduce latency, and maintain control over their data.
Setting Up Deployment Pipeline with DeployHQ
1. DeployHQ Configuration
- Create a DeployHQ account and new project
- Connect your Git repository containing Ollama and Open WebUI configurations
- Configure deployment settings using a Shell Server (SSH):
# Required settings on DeployHQ:
environments:
  production:
    branch: main
    server:
      type: ssh (shell)
      host: your-server-ip
      user: deploy
      path: /opt/ollama-deployment

pre_deploy:
  - command: "systemctl stop ollama"
  - command: "podman stop open-webui"

deploy:
  - command: "curl -fsSL https://ollama.com/install.sh | sh"
  - command: "podman pull ghcr.io/open-webui/open-webui:main"

post_deploy:
  - command: "systemctl start ollama"
  - command: "podman run -d --network=host -v open-webui:/app/backend/data -e OLLAMA_BASE_URL=http://127.0.0.1:11434 --name open-webui --restart always ghcr.io/open-webui/open-webui:main"
2. Server Preparation
Ensure your server has:
- SSH access configured for DeployHQ
- Podman installed in your server
- Sufficient permissions for the deploy user
Prerequisites
Before proceeding, ensure you have the following:
- A system running Fedora or a compatible Linux distribution
- Podman installed (for OpenWebUI deployment)
- Sufficient disk space for storing models
For machines with GPUs:
- NVIDIA GPU with CUDA support (for faster performance)
- Properly installed and configured NVIDIA drivers
Installing Ollama
Ollama can be installed with a one-line command:
curl -fsSL https://ollama.com/install.sh | sh
Verify installation:
ollama --version
Deployment Process
1- Initial Setup:
# On your local machine
git init
git add deployhq.yml
git commit -m "Initial deployment configuration"
git push
2- Configure Deployment Keys:
- Add DeployHQ's SSH key to your server's
authorized_keys - Set up any necessary environment variables in DeployHQ
3- First Deployment:
- Trigger manual deployment through DeployHQ dashboard
- Monitor deployment logs for any issues
Deploying OpenWebUI with Podman
For users who prefer a graphical interface, OpenWebUI provides an excellent solution.
1. Downloading OpenWebUI Container
podman run -d --network=host -v open-webui:/app/backend/data -e OLLAMA_BASE_URL=http://127.0.0.1:11434 --name open-webui --restart always ghcr.io/open-webui/open-webui:main
Note: Ollama API is exposed(by default) at 127.0.0.1:11434
2. Accessing OpenWebUI
Access the interface at localhost:8080 (locally, or using your public IP). Perhaps it's easier if you have a domain and you want to use a subdomain here.
Managing Updates
When updating Ollama or Open WebUI:
- Update your configuration in the Git repository
- Push changes to trigger automatic deployment
- DeployHQ will:
- Stop existing services
- Deploy updates
- Restart services
- Verify deployment success
Rollback Procedure
If issues occur:
- Access DeployHQ dashboard
- Select previous successful deployment
- Click "Rollback"
- Monitor rollback process
Using LLaVA for Image Analysis
1. Pulling the LLaVA Container
ollama pull llava
2. Running LLaVA
Access the LLaVA interface via web UI and upload images for analysis.
Monitoring Deployments
DeployHQ provides:
- Deployment logs
- Status notifications
- Deployment history
- Performance metrics
Best Practices
- Always test changes in a staging environment
- Use deployment hooks for custom actions
- Implement health checks
- Monitor system resources during deployments
- Maintain backup configurations
Other Use Cases
- OCR: Extract text from images and scanned documents
- Multimodal Interaction: Combine text and image inputs
- Visual QA: Answer specific questions about images
Conclusion
This setup provides a robust solution for running generative AI models locally while maintaining professional deployment practices through DeployHQ. The combination of local AI capabilities and automated deployments creates an efficient, secure, and maintainable environment for both development and production use.
Happy experimenting!