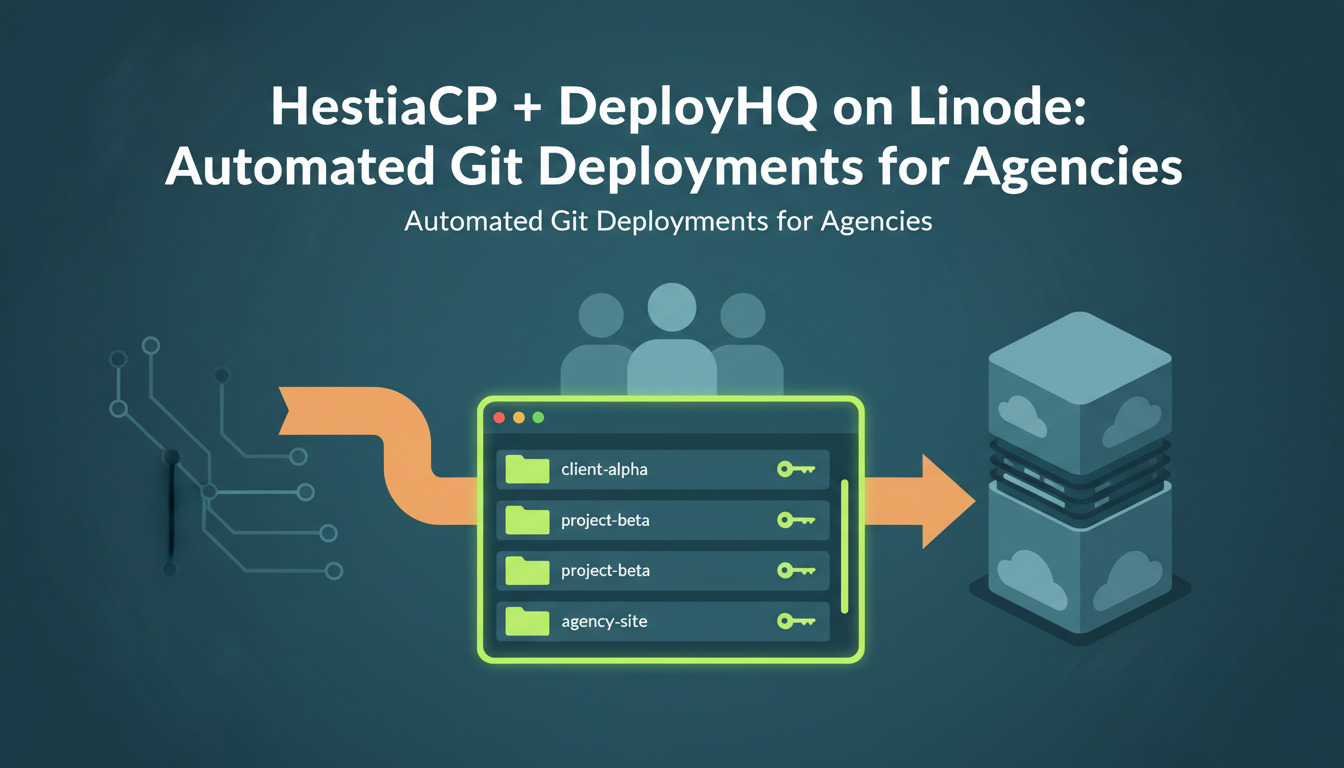
Why HestiaCP + DeployHQ is a strong fit for agencies
If you run a web agency or freelance shop juggling a dozen WordPress, Laravel, or static PHP sites on a single VPS, HestiaCP is one of the cleanest open-source alternatives to cPanel — free, scriptable, and resource-light enough to run on a 2-4 GB Linode. The catch most teams hit is deployment: HestiaCP gives you tidy per-site SFTP accounts, but no built-in pipeline to push commits from Git to the right web/<domain>/public_html directory automatically.
That is where DeployHQ closes the loop. Connect a GitHub or GitLab repository, point it at the HestiaCP-issued SFTP credentials, and every push to main ships only the changed files — no full re-uploads, no manual zip-and-drag, no shared logins floating around in 1Password. This guide walks through the exact configuration we use for agency clients running multi-tenant HestiaCP boxes on Linode, with the security hardening, build steps, and rollback strategy spelled out.
If you are weighing control panels, the companion post on installing cPanel on AlmaLinux or Ubuntu covers the commercial alternative side-by-side. This guide assumes you have already chosen HestiaCP.
Architecture at a glance
flowchart LR
    Dev[Developer] -->|git push| GH[GitHub / GitLab / Bitbucket]
    GH -->|webhook| DHQ[DeployHQ]
    DHQ -->|build pipeline:\ncomposer / npm / artisan| DHQ
    DHQ -->|SFTP changed files| Hestia[HestiaCP user web/site/public_html]
    Hestia --> Linode[Linode VPS Ubuntu 22.04 LTS]
Three things to internalise before you start:
- One SFTP user per site, never one per server. HestiaCP makes this trivial; we will use it as the security boundary.
- DeployHQ uploads diffs, not full trees. A 1,200-file Laravel app redeploys in seconds because only changed files cross the wire — only the changed paths are transferred over SFTP.
- Builds run on DeployHQ's infrastructure, not the VPS. Composer, npm, Vite, and webpack all execute in DeployHQ's build pipeline, so your Linode never installs Node or dev dependencies.
Step 1 - Provision the Linode VPS
For most agency workloads the Linode 4 GB shared CPU plan (Nanode is too tight once HestiaCP, MariaDB, and PHP-FPM are running) on Ubuntu 22.04 LTS is the sweet spot. If you need a refresher on sizing, we covered the trade-offs in Shared Hosting vs VPS for junior developers and What is a VPS?.
Provision the instance, point your DNS A record at the public IP, and SSH in as root before HestiaCP install:
# Quick hardening before HestiaCP installer runs
adduser deploy
usermod -aG sudo deploy
apt update && apt -y upgrade
ufw allow OpenSSH && ufw allow 'Nginx Full' && ufw enable
DeployHQ also publishes a dedicated Linode deployment guide if you want the platform-specific walkthrough — it covers Linode-side networking and StackScript provisioning that we will not duplicate here.
Step 2 - Install HestiaCP
Follow the official HestiaCP installation script — do not skip the --apache no --proxy yes flags if you want Nginx-only (lighter and what we recommend for static + PHP-FPM):
wget https://raw.githubusercontent.com/hestiacp/hestiacp/release/install/hst-install.sh
bash hst-install.sh --apache no --proxy yes --hostname panel.example.com \
  --email ops@example.com --password 'set-a-strong-one'
Reboot, log into https://panel.example.com:8083, and confirm the admin dashboard loads. Lock the panel down to your office IPs via iptables or HestiaCP's firewall module before going further.
Step 3 - Create per-site HestiaCP users
Per HestiaCP user management, each client site gets its own Linux user. This is the security boundary that makes the multi-tenant model safe — chrooted SFTP, separate databases, separate cron, separate log files.
# Create the user, assign the package, attach the domain
v-add-user clientacme strong-pw ops@example.com default 'Client ACME'
v-add-domain clientacme acme.com
v-add-mail-domain clientacme acme.com
v-add-database clientacme acme acme_user db-pw mysql
Now generate the SFTP key pair on your DeployHQ side first (next step), then add the public key to the HestiaCP user:
v-add-user-ssh-key clientacme /tmp/deployhq.pub
Verify the chrooted SFTP path resolves. The HestiaCP convention is /home/<user>/web/<domain>/public_html — that is the path you will paste into DeployHQ.
Step 4 - Configure the DeployHQ project
In DeployHQ:
- Create a project, connect it to your Git provider, pick the branch.
- Add a server with these values:
| Field | Value |
|---|---|
| Protocol | SSH/SFTP |
| Hostname | acme.com (or the Linode IP) |
| Port | 22 |
| Username | clientacme (the HestiaCP user, not root) |
| Authentication | SSH key (recommended over password) |
| Deployment path | /home/clientacme/web/acme.com/public_html |
| Branch | main |
- Copy the DeployHQ public key from the server config screen, then add it to HestiaCP using
v-add-user-ssh-keyas shown above. We covered the same flow in How to deploy to your server using SSH/SFTP and Git with DeployHQ. - Enable automatic deployments so every push to
maintriggers a deploy — see automatic deployments for the webhook mechanics.
If the SSH connection refuses, the SSH/SFTP troubleshooting guide covers the four issues that account for ~90% of failures (missing key, wrong port, fail2ban ban, chroot path mismatch).
Step 5 - Build pipeline (Composer, npm, asset compilation)
Run builds on DeployHQ, not on the Linode. A typical Laravel project's build commands look like:
# Composer install (production-only, optimised autoloader)
composer install --no-dev --optimize-autoloader --prefer-dist

# Front-end assets
npm ci
npm run build

# Strip the heavy stuff before upload
rm -rf node_modules tests .git docs
For WordPress sites the equivalent is composer install --no-dev plus npm run build for any custom block bundles. We documented the broader Git-driven WordPress workflow in Automate WordPress Deployments with Git (no more FTP).
Step 6 - Post-deploy SSH commands
DeployHQ supports SSH commands that run on the target server after files are uploaded. Use them to swap symlinks, run migrations, and warm caches — all over the same SFTP user, no root:
# Laravel example
cd /home/clientacme/web/acme.com/public_html
php artisan migrate --force
php artisan config:cache
php artisan route:cache
php artisan view:cache
php artisan queue:restart
Pin a release directory pattern if you want true atomic swaps — DeployHQ's zero downtime deployments feature handles symlink atomicity for you.
Step 7 - Security hardening
Per HestiaCP security best practices, the non-negotiables are:
- Disable password SSH in
/etc/ssh/sshd_config(PasswordAuthentication no) once keys are in place. - fail2ban is enabled by default in HestiaCP — leave it on, and add the
recidivejail for repeat offenders. - Restrict the panel port (8083) to your office/VPN IPs only. Public exposure of the panel is the most common HestiaCP compromise vector.
- Per-user FTP/SFTP credentials — never give DeployHQ the
adminuser. Each site = its own user. - TLS everywhere — HestiaCP's built-in Let's Encrypt issuer covers both the panel and the hosted domains.
Backup and rollback strategy: the 3-2-1 rule
This is where most agencies cut corners and pay for it later. Follow the 3-2-1 backup rule: 3 copies of your data, on 2 different media, with 1 off-site. Concretely:
| Layer | What it covers | Where it lives |
|---|---|---|
| HestiaCP daily backup | DB + files + mail per user | Local disk on the Linode (/backup/) |
| Linode Backup Service (~25% of plan cost) | Full instance snapshot, 1d/7d/scheduled | Linode infrastructure |
| Off-site (Backblaze B2 / S3) | HestiaCP .tar + DB dumps |
Independent provider |
Define your RPO and RTO up front: for most agency client sites, RPO 24 h (lose at most a day of changes) and RTO 1 h (back up and running within an hour) is realistic. Set rollback expectations in your client contract, not after the first incident.
DeployHQ also retains the previous 10 deploys so you can revert any commit-triggered breakage in one click — distinct from disaster recovery, but the first line of defence for the new release broke checkout.
Realistic outcomes
For the agencies we work with, the typical move from manual SFTP to HestiaCP + DeployHQ delivers:
- Deploy time: down from ~10 minutes (drag-and-drop from a local build) to ~30-90 seconds (diff upload of changed files only).
- Failed deploys: down sharply because Composer/npm runs on DeployHQ — no
works on my machine
PHP version drift between developer laptops. - Credential sprawl: zero shared SFTP logins; per-site keys, revocable per-client.
- Auditability: every deploy has a commit SHA, an author, and a server-side log — DeployHQ pricing starts at the level where this is included.
Your numbers will vary based on app size and pipeline complexity, but the shape of the win is consistent.
When HestiaCP is the wrong choice
To save you a refactor: do not use HestiaCP if you need (a) Windows hosting, (b) commercial vendor support with an SLA, or (c) deeply custom Apache modules. In those cases a commercial cPanel install or a pure Git-based VPS deployment without a control panel will fit better. If you are still evaluating the file-transfer protocol itself, SFTP vs SCP vs rsync covers the trade-offs.
For agencies running 10+ client sites, the DeployHQ for agencies plan adds team-level project management on top of the same workflow.
Recommended resources
Questions or stuck on a specific HestiaCP / DeployHQ wiring problem? Email support@deployhq.com or ping us on @deployhq — we read every message.