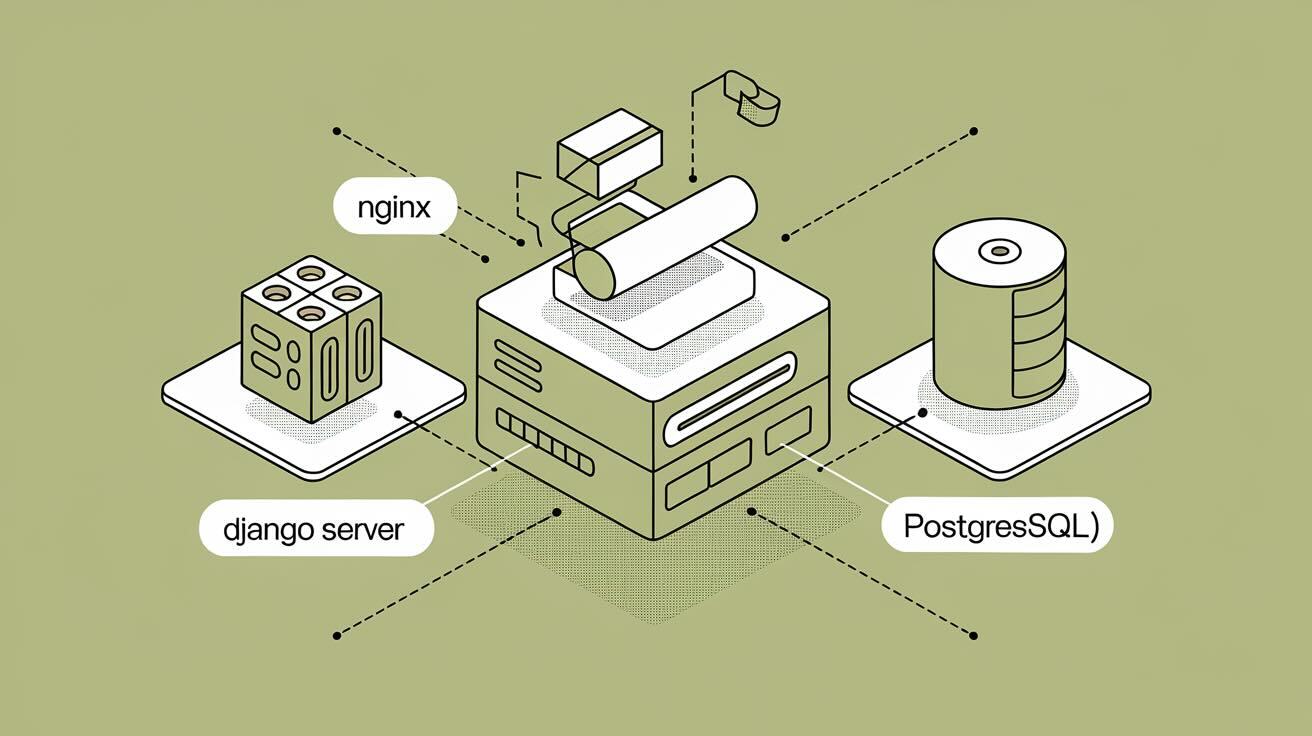
Deploying a Django application can be challenging, especially when choosing the right infrastructure. Hetzner, combined with DeployHQ, provides a strong and flexible solution that makes the deployment process easier. DeployHQ, a cloud-based deployment platform, lets you deploy and manage applications with ease.
This guide will show you how to deploy a Django application to Hetzner using DeployHQ.
What is Hetzner and DeployHQ?
Hetzner
Hetzner, a German-based web hosting provider, delivers a diverse range of services including dedicated servers, cloud solutions, virtual private servers (VPS), and colocation. Renowned for their high-performance infrastructure at competitive prices, Hetzner has garnered a loyal following among developers, businesses, and tech communities.
With data centers strategically positioned across Germany, Finland, the USA, and Singapore, Hetzner prioritizes robust security, reliability, and scalable solutions. Their cost-effective cloud hosting offerings have solidified their position as a prominent player in the European hosting market.
DeployHQ
DeployHQ is a cloud-based deployment service that simplifies the process of deploying web applications. It integrates with various version control systems and provides automated deployments, with support for multiple programming languages and frameworks. DeployHQ offers features like atomic deployments, rollbacks, and deployment hooks, making it a reliable choice for managing application deployments.
Pre-Requisites
Before we start the deployment process, make sure you have:
- A Django Application: Your Django app should be ready for deployment with a requirements.txt file
- A Hetzner Cloud Account: Sign up at Hetzner if you don't have one
- A GitHub Account: To connect your repository to DeployHQ
- A DeployHQ Account: Sign up at DeployHQ.com
- Basic Command Line Knowledge
Step 1 - Create a VPS in Hetzner
Start by creating a VPS (Virtual Private Server) in the Hetzner Cloud. If you don't have an account, you can sign up here.
Once on the cloud console:
- Create a new project, let's call it Hetzner Server. Enter the project and Add Server.
- For Location, let's choose Helsinki (
eu-central). - For Image, let's choose
Ubuntu 22.04. - For Type, we choose Shared CPU, x86 and
CX22(2vCPUS, 4GB RAM, 40GB SSD). - For Networking, we leave both
IPv4andIPv6on. - For SSH Keys, you should add your SSH key. If you don't have one, you can generate it with ssh-keygen, more info here.
- The other options you can leave off for now. Later on you can active a firewall if needed.
- Finally, give it a name, in this case, let's called
django-server.
Then click on Create & Buy now. After a couple of seconds, your VPS should be up and running and accessible with SSH in the indicated IP address:
ssh root@<ip_address>
Step 2 - Configure the Server
Then, we'll need to manually set up our server environment:
apt update && apt upgrade -y

# Install Python and dependencies
apt install python3-pip python3-venv nginx supervisor

# Install PostgreSQL
apt install postgresql postgresql-contrib

# Create a database and user
sudo -u postgres psql
CREATE DATABASE django_db;
CREATE USER django_user WITH PASSWORD 'your_password';
GRANT ALL PRIVILEGES ON DATABASE django_db TO django_user;
\q
Step 3 - Configure DeployHQ
- Create a new project in DeployHQ
- Connect your GitHub repository
- Add your server:
- Server name: Production
- Protocol: SFTP
- Hostname: Your Hetzner IP
- Username: root (or your user)
- Authentication: SSH Key
- Configure deployment settings:
- Branch to deploy:
main - Repository path:
/var/www/django-app - Python version: Select your version (for example,
Python 3.13.1)
- Branch to deploy:
Step 4 - Creating the Django application
Let's start with making sure there is a requirements file with the command:
pip freeze > requirements.txt
Then you can install some necessary packages to prepare for deploying:
pip install python-decouple dj-database-url gunicorn whitenoise psycopg2-binary
This installs three useful packages:
-
python-decouplefor managing configuration settings. -
dj-database-urlfor simplifying database configuration in Django. -
gunicornfor serving Python web applications in production. -
whitenoiseto manage access to static files. -
psycopg2-binaryto allow access to Postgres databases.
Modify settings.py for production:
import os
from decouple import config

ALLOWED_HOSTS = ['your-domain.com', 'your-ip-address']

DATABASES = {
    'default': {
        'ENGINE': 'django.db.backends.postgresql',
        'NAME': 'django_db',
        'USER': 'django_user',
        'PASSWORD': 'your_password',
        'HOST': 'localhost',
        'PORT': '5432',
    }
}

STATIC_URL = 'static/'
STATIC_ROOT = os.path.join(BASE_DIR, 'static')
Step 5 - Configure DeployHQ Deployment
Create deployment scripts in DeployHQ:
SSH Before Commands:
python3 -m venv venv
source venv/bin/activate
pip install -r requirements.txt
SSH After Commands:
source venv/bin/activate
python3 manage.py migrate
python3 manage.py collectstatic --noinput
sudo supervisorctl restart django-app
Configure Supervisor (/etc/supervisor/conf.d/django-app.conf):
[program:django-app]
command=/var/www/django-app/venv/bin/gunicorn your_project.wsgi:application
directory=/var/www/django-app
user=www-data
autostart=true
autorestart=true
redirect_stderr=true
Configure Nginx (/etc/nginx/sites-available/django-app):
server {
    listen 80;
    server_name your-domain.com;

    location /static/ {
        alias /var/www/django-app/static/;
    }

    location / {
        proxy_pass http://127.0.0.1:8000;
        proxy_set_header Host $host;
        proxy_set_header X-Real-IP $remote_addr;
    }
}
Deploy
- Push your code to GitHub
- DeployHQ will automatically detect the changes
- Click "Deploy" in DeployHQ dashboard
- Monitor the deployment logs
Conclusion
You have successfully deployed your Django application to Hetzner using DeployHQ.
Now that your application is deployed, you can focus on improving and expanding it, knowing that it is running on a reliable infrastructure.
